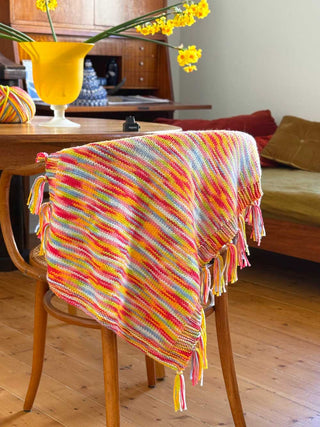
READY TO KNIT YOUR VERY OWN SCARF INSPIRED BY GRU's TRADEMARK ACCESSORIE?!
To celebrate the at home release of Despicable Me 4, we've teamed up with Universal Pictures Home Entertainment to design our own Gru Scarf. Whether you're a complete beginner or have some experience, this guide will help you knit your scarf from the first to the last stitch.
LET'S KNIT UP A STORM 🧶
Beginners, rejoice! This pattern will take you from zero to knitting hero 🏆🦸
Before we get started on the pattern we suggest you spend a bit of time learning the basic stitches you’ll need to complete your masterpiece.
The Gru Scarf is a dream to knit up and perfect for beginners. You'll want to be confident with the knit stitch and its friend the purl stitch before we start. We put the knit and purl stitches together to make a stockinette stitch pattern. You'll also want to get a hang of tying a slip knot and casting on your stitches which is the first step in any knitting project.
You can use the yarn that came in your kit to practice with. Once you've got these mastered you'll find the scarf a cinch!
Total beginner? 👩🏫
For a more comprehensive lesson on the basics of knitting visit our LEARN TO KNIT Page.
Let's dive into our scarf 🤿

STEP 1: CAST ON
Cast on your stitches. The stitches may run onto the tube connecting your needles, that's totally fine.
Your scarf will also 'grow' as you knit it, so don't be alarmed if it doesn't look wide enough yet!

STEP 2: ROW 1
Knit every stitch from your left needle onto your right. This is what it will look like when your first row is completed.

STEP 3: ROW 2
Now complete a row of purl stitches.
STEP 4: STOCKINETTE STITCH
Repeat the sequence- knit row, purl row, knit row. You'll start to see your stockinette stitch pattern develop. When done correctly, the 'front' side of your work will look like it's made up of a series of V's, while the 'back' side will look like little waves or ridges.
To help stop the edges of our scarf from curling (too much!) we suggest you slip the first stitch of every row. To do this, just move the first stitch from your left to your right needle without knitting or purling it. Don't stress if you forget to do this every row- it won't make a difference to the final look of your scarf.

STEP 5: COLOUR CHANGE
Time for our first colour change. To start working with the new colour, just tie a knot with the new yarn around the yarn you're currently knitting with. Then start knitting with the new yarn. You can cut the tail of the previous colour.
You'll have to sew in your ends to finish the scarf, so make sure you leave around 5cm+ of each colour so you've got enough to work with.
Alternatively, if you're a little lazy (no judgement here!) you can tie the ends together in one more knot and then trim close to the knot to save from weaving in loose ends.

STEP 6-8: KNIT, KNIT, KNIT
Knit, following the pattern to make up your scarf.
STEP 9: CAST OFF
Cast off your stitches to finish your scarf. Then use your darning needle (the little pin that came in your kit) to weave in your loose ends.
D.O.N.E! You've finished your scarf, well done! Epic work 🤩 If this was your first-ever knitting project or one of many, we hope you had a blast. Don't forget to share your masterpiece with us on Instagram and TikTok @cardigang_knits 💥❤️
Can't get enough Cardi?
Join the Cardigang Click on Facebook and connect with other knitters, ask questions and share your masterpiece.
In a bind and need a little more help?
Email us at stitchup@cardigang.com.au and we'll be able to help! Whether you're just starting out, or you've got a specific question or problem (dropped a stitch, no stress!), we're here to get you out of a bind.


