






TREK. BOTTLE BAG
BY CARDIGANG X KIKKI K
Your bottle’s new favourite outfit—and you get to make it. Introducing the Kikki.K x Cardigang DIY Bottle Bag, co-designed using signature TREK materials.
This guide will take you through your crochet journey, from kit to finished bag. Whether you’re brand new to crochet or just here for a refresh, we’ll take you from “how do I hold the hook?” to “look what I made!” — one stitch at a time.
Heads up! You'll need the physical pattern that came in your kit as well as this online guide. The pattern contains the specifics, this guide gives you the extra layer of detail.


WHAT YOU'LL NEED


PRACTICE MAKES PERFECT (Or CLOSE ENOUGH!)
Before we dive into the good stuff, let’s warm up those hands. Think of this like stretching before a workout, except comfier, cuter, and way more fun.
Grab some of the cord from your kit, and get familiar with the motions. Try out the stitches you’ll be using in this pattern. This is your time to mess it up, try again, and feel things out — no pressure, no judgement, just you and your new fave hobby. When you're done, just undo the practice so you can use the cord to make your finished piece.
Bonus: practising now = fewer headaches later (trust us on this one).
📝 Note: If you're new to crochet we recommend practicing with a flat swatch using the techniques in the videos below. Once you're comfortable you'll learn a new technique, called a magic ring, and you'll start working in the round. For those already confident with crochet you can jump down to the next section.
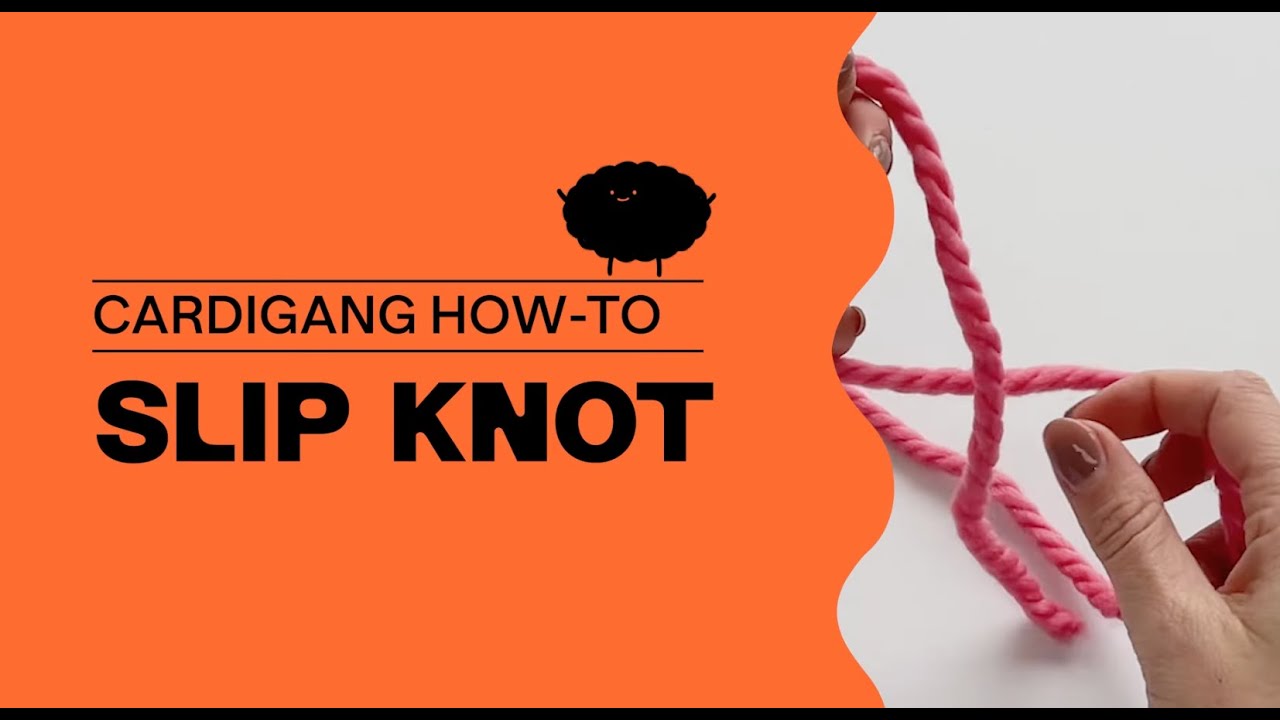
Slip knot
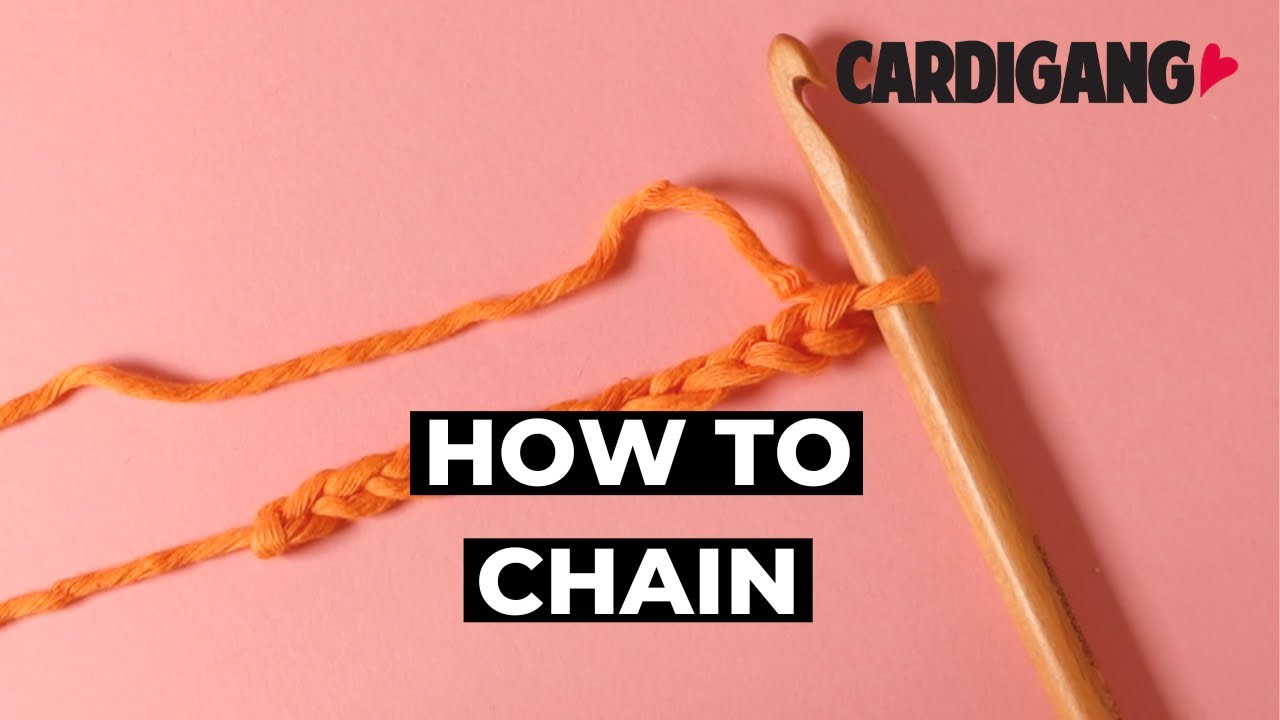
Chaining
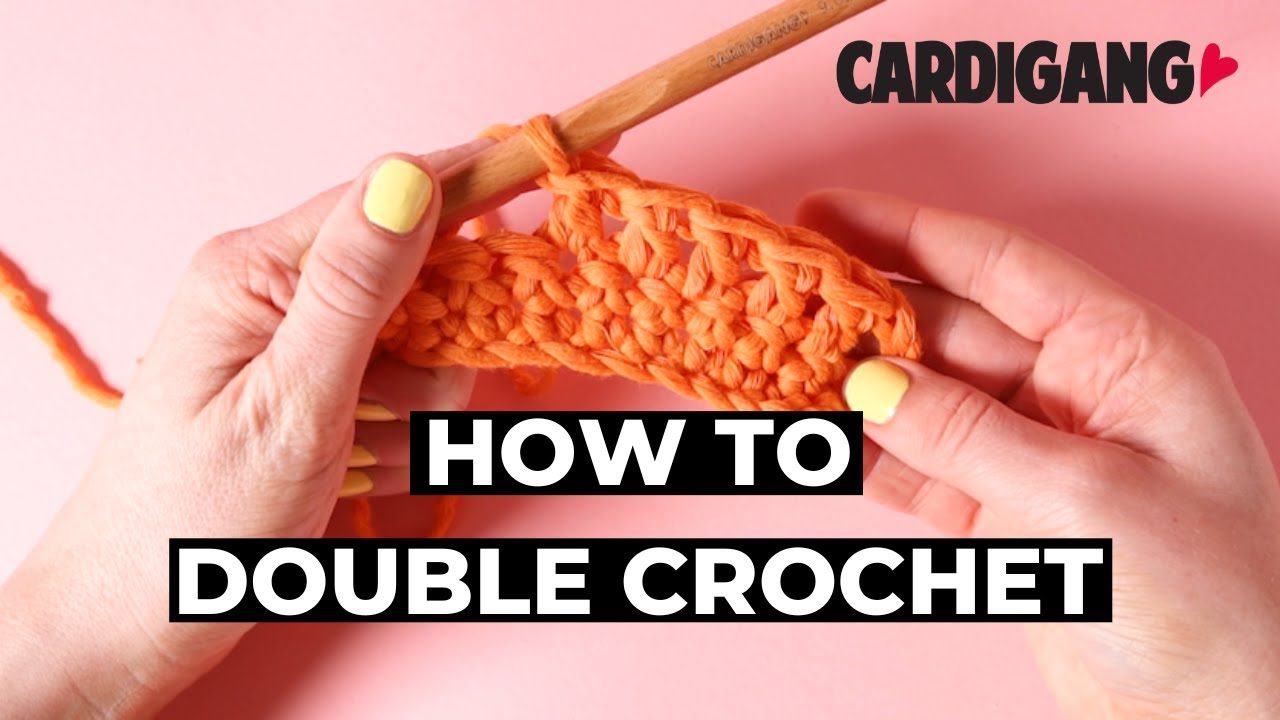
Double crochet
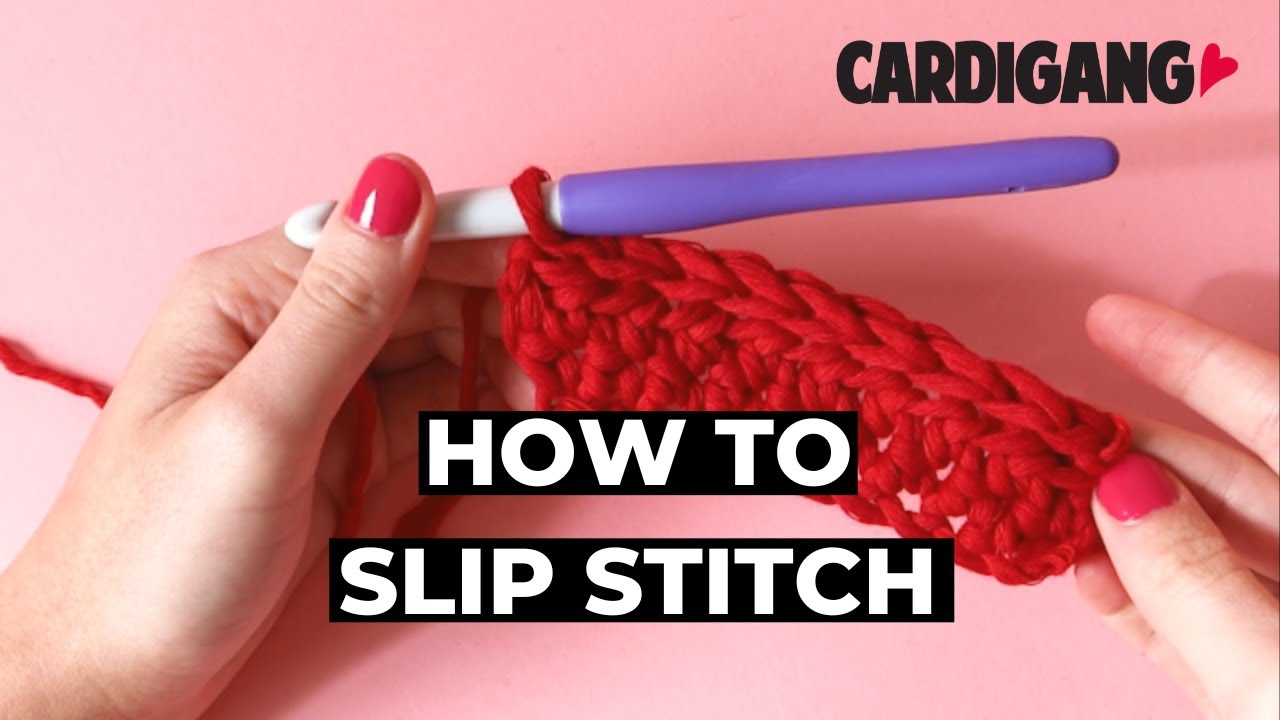
Slip Stitch
Magic Ring


Repeat after me:
“I solemnly swear to stitch bravely, unpick calmly, and pretend I meant to do that.
I accept that chaos is part of the craft, and possibly part of my personality.
I will finish what I start… eventually.”

We’ll make the bottle bag in one piece, beginning with a magic circle and working double crochet stitches into it. From there, we’ll continue in double crochet, adding spaces to create the bag’s open structure. Finally, we’ll knot the strap into place and add the decorative 'petals'.
THE BAG BODY
We begin our bag at the base. We're going to make a magic ring and then make double crochet stitches into the circle to make the base. Then we'll work in rounds to create the netted structure of the bag.
You'll use your main, solid colour cord for the bag body (either in cherry or chalk). We recommend rolling the cord into a ball before you begin as it reduces the chances of the cord knotting at you go.
Before you dive into your project, make sure you're comfortable doing a double crochet stitch - either flat or into a magic ring. We cover a bit of ground in this first tutorial video so knowing how to do the stitch first will be a huge help.
If you’ve been practising crocheting flat, you just need to think of the magic ring as your foundation chain - it’s the base that we work in to.
💡 If you're struggling to pull your hook through the loops, chances are your tension is too tight. Loosen up when you yarn over so that the hook has more space to get through.
THE STRAP
Moving onto our strap, we’re going to make 2 barrel knots, 1 at each end of our thick rope. A barrel knot creates an adjustable loop so you can change the length of your strap for the perfect fit.
THE LOOPY SQUARE KNOT
Now for the star of the show: the decorative strap detail which we add to the bag strap. We’ll create the petal-like design using Loopy Square Knots, leaving a little extra space between each knot to form the loops.
Before you begin, find the centre of your multicoloured paracord and wind each end into a separate ball. Decide where you’d like the decoration to sit on your thick strap, then position the centre of the paracord behind the thick rope.
GATHERING KNOTS
The gathering knot is the finishing touch that pulls all your ropes and cords together and gives your project a polished look. You'll add one on each side of the petal strap feature.


EXPLORE MORE BEGINNER KITS
Cardigang is more than kits and yarn. It’s a growing community of beginners, overthinkers, perfectionists-in-recovery, and people rediscovering creativity as adults.
If you’ve ever wanted a hobby that feels good, looks good, and doesn’t ask you to be anything other than where you are right now, you’re in the right place.
Discover the full range of Cardigang Knit and Crochet Kits.