








THE T2 FLASK BAG
BY CARDIGANG
Meet the cosiest collaboration of the season: T2 x Cardigang’s Hooked on Hot Tea Crochet Kit, made to keep your favourite flask snug and your hands happily crafting.
This guide will take you through your crochet journey, from kit to finished bag. Whether you’re brand new to crochet or just here for a refresh, we’ll take you from “how do I hold the hook?” to “look what I made!” — one stitch at a time.
Heads up! You'll need the physical pattern that came in your kit as well as this online guide. The pattern contains the specifics, this guide gives you the extra layer of detail.


WHAT YOU'LL NEED


PRACTICE MAKES PERFECT (Or CLOSE ENOUGH!)
Before we dive into the good stuff, let’s warm up those hands. Think of this like stretching before a workout, except comfier, cuter, and way more fun.
Grab some of the yarn from your kit (just a little, you’ve got enough to spare!), and get familiar with the motions. Try out the stitches you’ll be using in this pattern. This is your time to mess it up, try again, and feel things out — no pressure, no judgement, just you and your new fave hobby.
Bonus: practising now = fewer headaches later (trust us on this one).
📝 Note: If you're new to crochet we recommend practicing with a flat swatch using the techniques in the videos below. Once you're comfortable you'll learn a new technique, called a magic ring, and you'll start working in the round. For those already confident with crochet you can jump down to the next section.
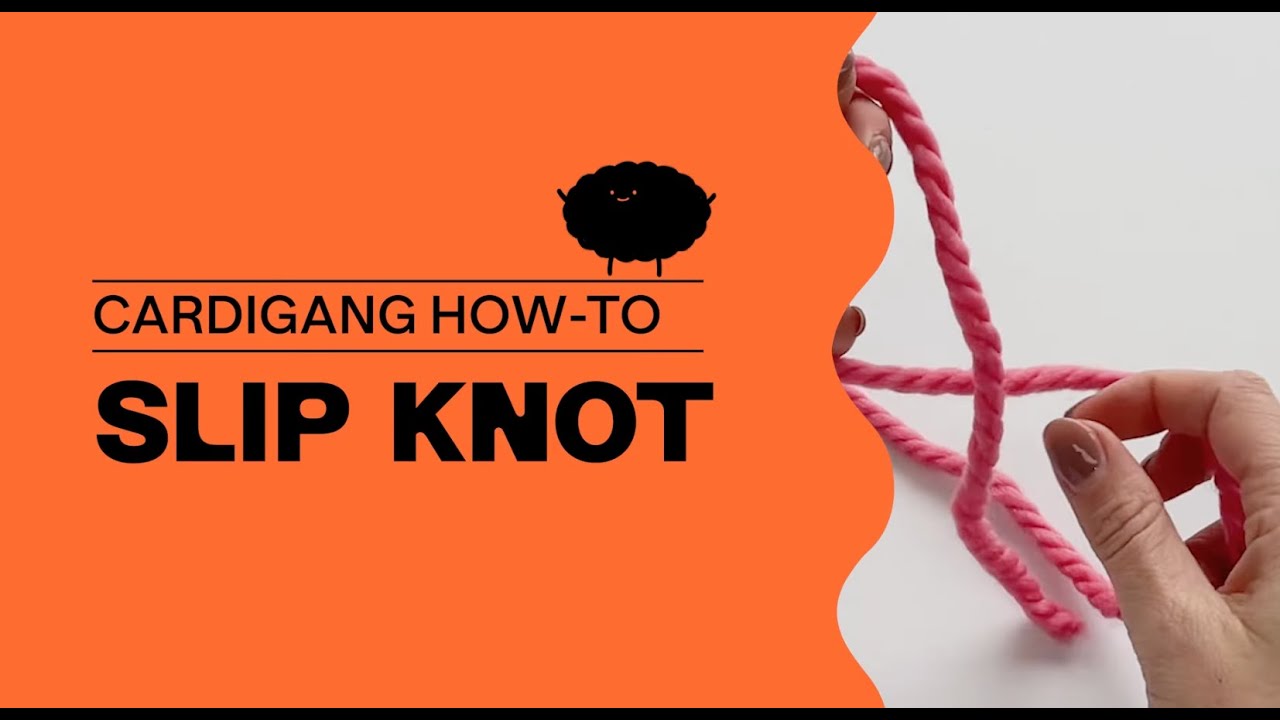
Slip knot
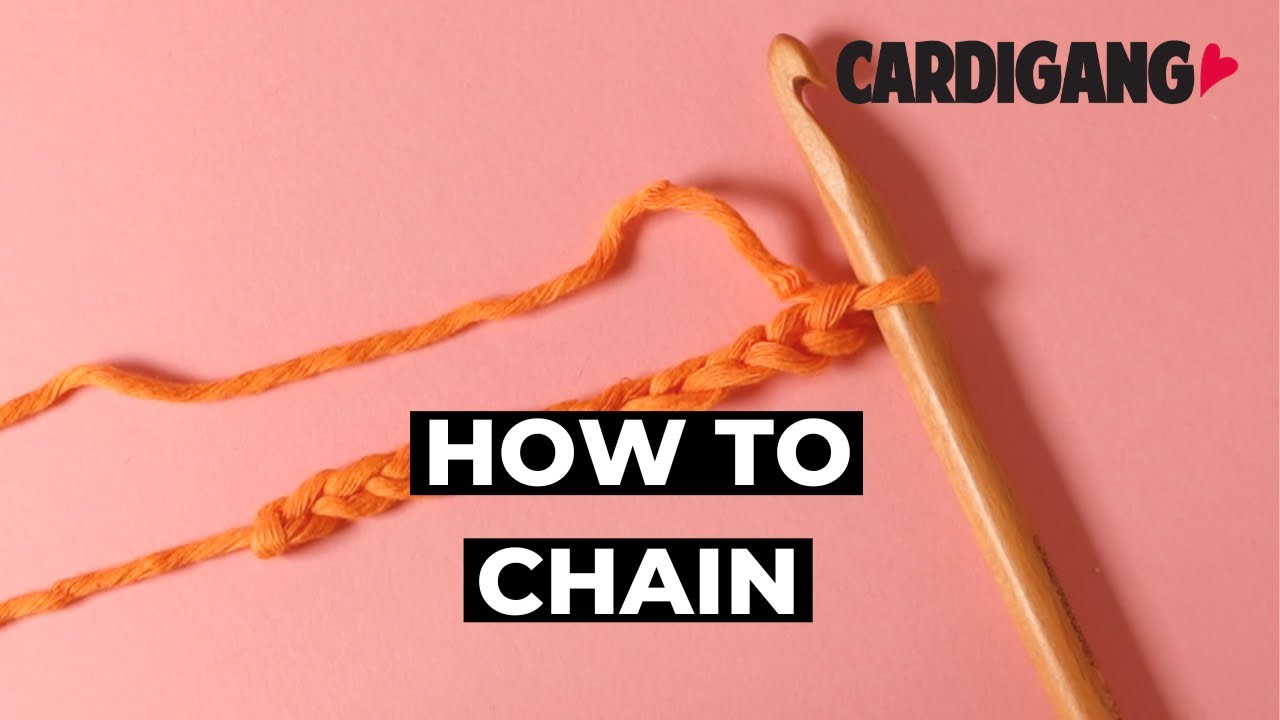
Chaining
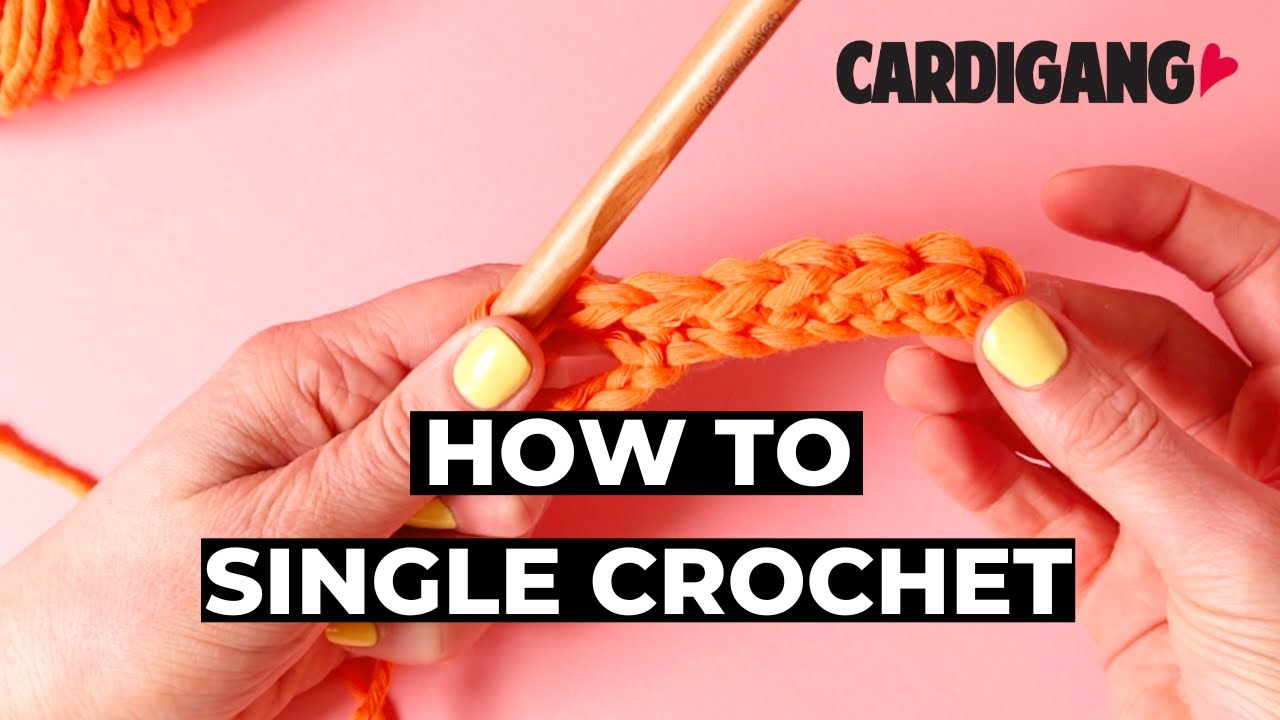
Single Crochet
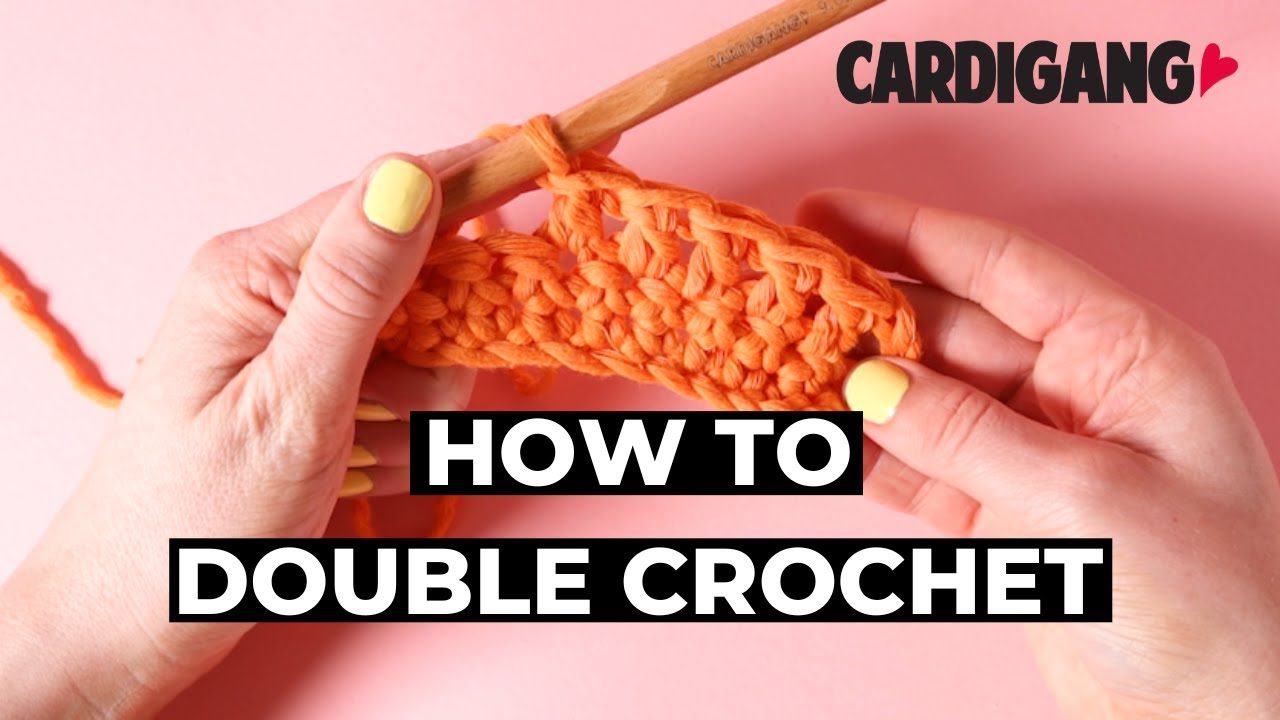
Double crochet
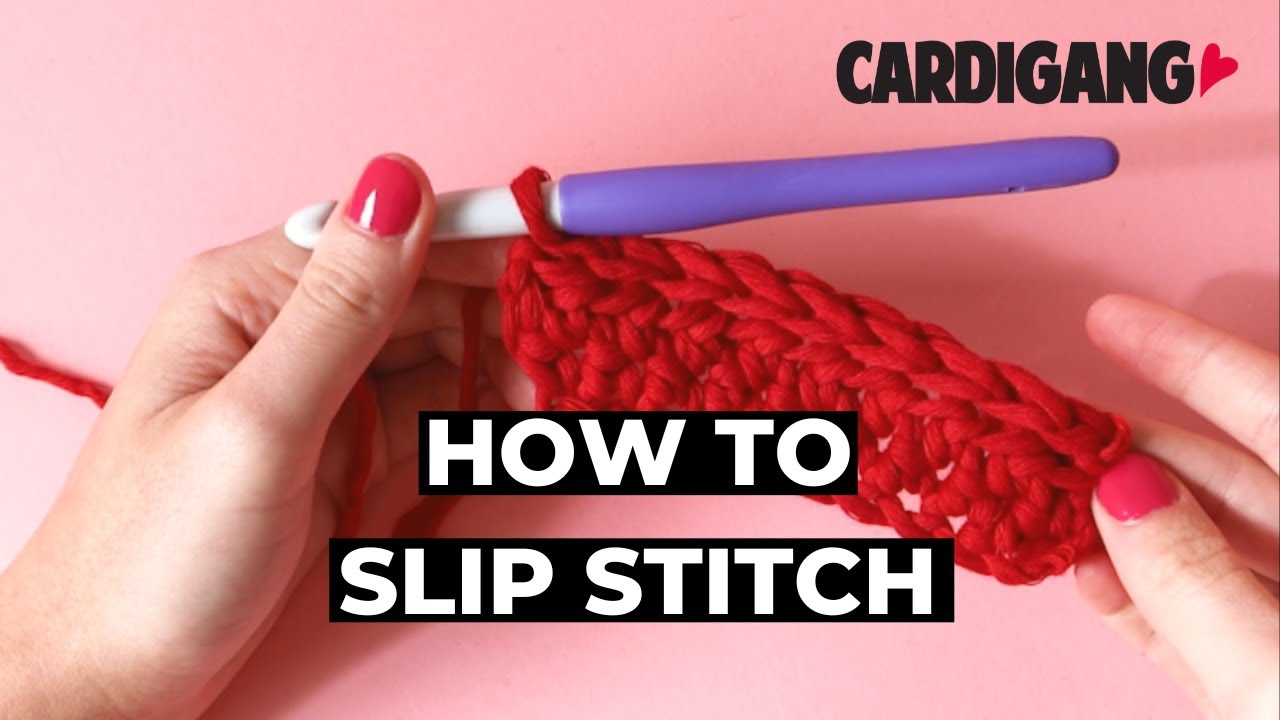
Slip Stitch


Repeat after me:
“I solemnly swear to stitch bravely, unpick calmly, and pretend I meant to do that.
I accept that chaos is part of the craft, and possibly part of my personality.
I will finish what I start… eventually.”

We make our bag in one piece, starting from the base. We’ll be working in the round, so you’ll crochet in loops. Once the body of the bag is done you’ll use the rest of your yarn to add the strap. Let’s go!
THE BASE
We begin our bag at the base. We're going to make a magic ring and then do a series of rounds of double crochet stitch. Adding increases in each round so the diameter of the base grows with each round.
We'll begin with a magic ring.
Then working into the ring you'll make 10 double crochet stitches (9 DC plus the chain 3 you begin with).
For the second round you'll increase every stitch, taking your stitch count from 10 to 20. Increasing stitches is done by doing two stitches into the one stitch from the round before.
For the third round the increase sequence is slightly different. So you'll do one double crochet into the first stitch from the round before, then increase every stitch following until you have one stitch left and do a single DC into that last stitch. Leaving you with 39 stitches.
Make sure you count your stitches after each round to make sure you've got the right number. It can be easy to miss a stitch when you're working in the round and you want to make sure you catch any errors before you start the next round!
THE BODY
Now that the base of our bag is wide enough, we're going to move on to the sides of the bag. We're going to work in a new stitch type, called Suzette Stitch.
The Suzette stitch is an easy, textured crochet stitch made by working a single crochet and a double crochet into the same stitch, then skipping the next stitch.
You'll continue working in rounds but from here on in, you're going to do a Suzette Stitch. Make sure you're moving the stitch marker at the end and beginning of each round to keep track of your progress.
Continue working in rounds of Suzette Stitch. Use the circles in your pattern to record each round.
Make sure you stop for tea breaks! ☕️
THE STRAP
We're close! I can see the finish line 🎢 🙌
Now it’s time to get to work on the strap. You'll start the strap with the yarn still attached to the body. Once your strap is long enough you'll use your darning needle to attach the loose end to the top of your bag.
You're going to work in rows now, doing 3-4 clusters and then turning your work.
So, with your hook still attached to the last stitch from round 24, you’ll do 3 more suzette clusters (SC into the first stitch. DC into same stitch. Skip a stitch.) Then do one more single crochet in the next stitch.
Chain 1 (this is our turning chain) and turn your work ready to complete the next row.
SC & DC into your first stitch. Skip a stitch and do 3 more clusters, making it 4 clusters in total. Then single crochet into last stitch. Chain 1 and turn your work.
Repeat row 2 until your strap is the length you want it to be, or until you've got about 30cm of yarn left, whichever comes first!
Using your darning needle you'll seam the end of the strap to the bag using a slip stitch.
The last thing we do for every piece is weave in the ends. That’s basically just tidying up the piece so all loose ends are trimmed down and tucked into the inside of your work. You use your darning needle and weave those ends into the work so they are nicely hidden away.


EXPLORE MORE BEGINNER KITS
Cardigang is more than kits and yarn. It’s a growing community of beginners, overthinkers, perfectionists-in-recovery, and people rediscovering creativity as adults.
If you’ve ever wanted a hobby that feels good, looks good, and doesn’t ask you to be anything other than where you are right now, you’re in the right place.
Discover the full range of Cardigang Knit and Crochet Kits.