


THE CARRIE TOTE BAG
Your step-by-step guide to making your masterpiece
Hey there, stitch superstar! You’ve just unlocked the secret sauce to making your very own brag-worthy tote bag, and we’re excited to be stitching it out with you.
This guide will be your BFF through the entire journey. Whether you’re brand new to crochet or just here for a refresh, we’ll take you from “how do I hold this hook?” to “look what I made!” — one cosy row at a time.
Heads up! You'll need the physical pattern that came with your kit as well as this online guide. The pattern contains the specifics, this guide gives you the extra layer of detail.


INCLUDED IN YOUR KIT


PRACTICE MAKES PERFECT (Or CLOSE ENOUGH!)
Before we dive into the good stuff, let’s warm up those hands and your hook. Think of this like stretching before a workout, except comfier, cuter, and way more fun.
Grab some of the yarn from your kit (just a little, you’ve got enough to spare!), and get familiar with the motions. Try out the stitches you’ll be using in this pattern. This is your time to mess it up, try again, and feel things out — no pressure, no judgement, just you and your new fave hobby.
Bonus: Practising now = fewer headaches later (trust us on this one).
For this practise session we recommend you crochet a flat square - it's the best way to learn the stitches and once you've got that mastered you can move into the pattern and lean the magic ring.
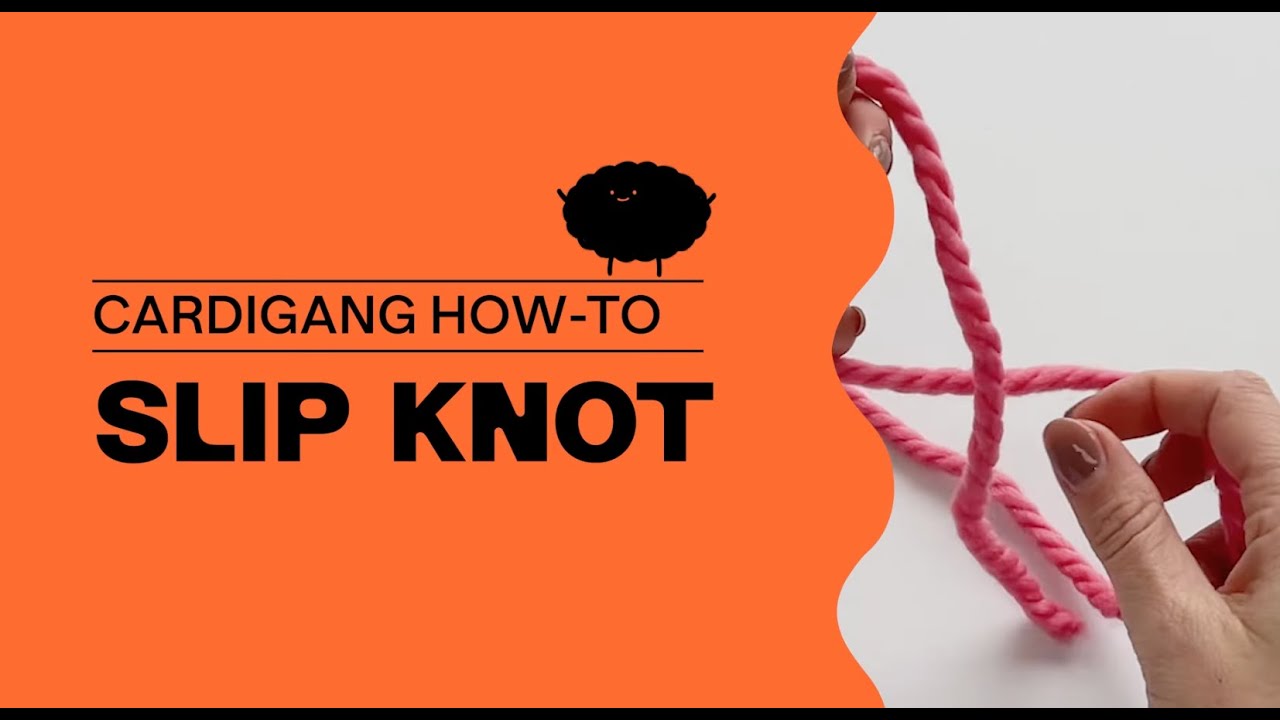
Slip Knot
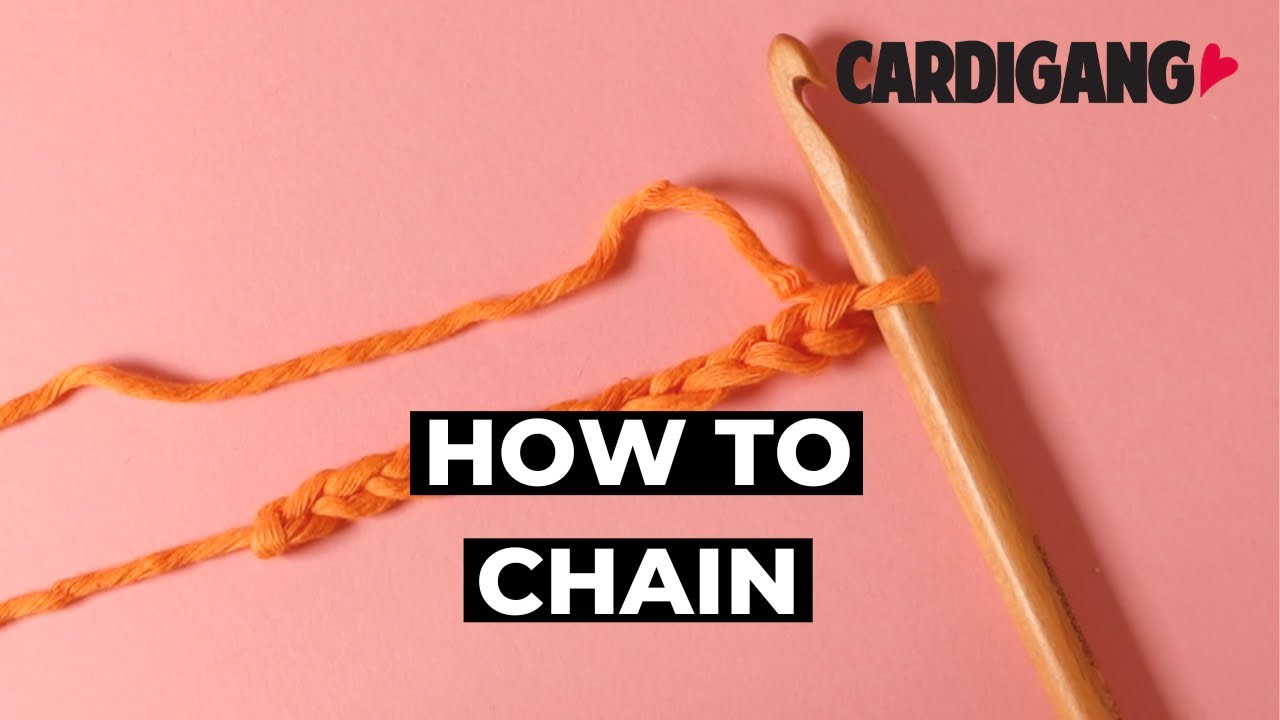
Chain
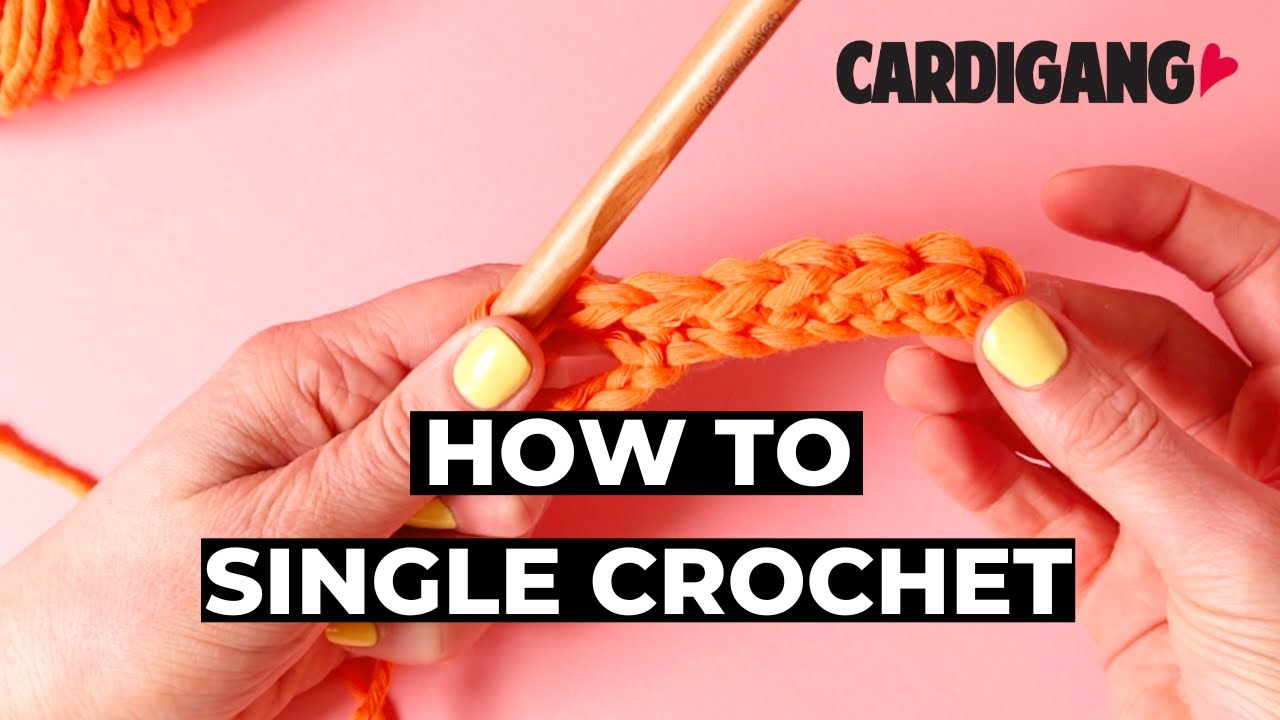
Single Crochet


Repeat after me:
“I solemnly swear to crochet bravely, unpick calmly, and pretend I meant to do that.
I accept that chaos is part of the craft, and possibly part of my personality.
I will finish what I start… eventually.”


We’ll start with the base of the bag which we crochet in a flat rectangle, then we’ll work up the sides of the bag by crocheting in rounds, and finally we add the straps. You'll be working with two strands of yarn at once to make this project. Play around with the colour combinations as you like!
Using your 12mm hook, and working with two strands of yarn, chain on your foundation chain.
💭 Try to make your chain stitches as evenly sized as possible. Don't pull the loops too tight because you'll struggle to work into these loops in your first row. On the other hand, if you make your loops too loose, your project will look a little messy.
Once you've chained, you'll move onto the first row of single crochet stitches.
In this first row you're working into the chain so you'll insert your hook into one of the bars of your chain stitch.
To start insert your hook into the second chain from the hook and do a single crochet stitch (SC). Then do a SC into every chain until the end of the row. You'll have 7 stitches after you've completed this row.
💡 Skipping the first chain gives you the height you need to complete the first row.
Chain 1 to make your turning chain and then turn your work.
For row 2 and all future rows you'll doe a SC into every stitch in the row, than chain 1 and turn your work.
💭 We've included handy circles in our patterns to keep track of your rows - you can tick them off as you go.
💡 If you're struggling to pull your hook through the loops, chances are your tension is too tight. Loosen up when you yarn over so that the hook as more space to get through.
Great job now fasten off to complete this piece.
To fasten off, cut the yarn leaving a 10–15cm tail, yarn over and pull the tail completely through the final loop, then gently tighten to secure.
Fantastic, now let's begin working on the sides of the bag. In this step you're going to pick up stitches using single crochet stitch. Picking up means you'll insert your hook into a place on the edge of the base, then complete a SC stitch.
You'll start anywhere along one of the long edges and pick up a SC for every row. When you reach a corner you'll pick up 2 SC's in the same spot - this gives us the space for our crochet to curve around the corner.
You'll have 64 stitches total by the end of this round.
When you reach the first SC you picked up, do a SC into that stitch (this starts the next round) and then use your stitch marker to mark that stitch. You're ready to complete the next round.

Continue working in rounds of SC. Remember to move the stitch marker up at the beginning of each round so you don't lose track of where you're at.
Here we're going to create the shape for the handles. We will work back and forth for 6 rows.
We're working around the short sides of the bag for this step. So if you're looking at the top of the work, it's working around the short sides.
By decreasing stitches at the start of each row we taper and create a semi-circle on each side.

The final step is to make the handles
So with your hook still attached to the last stitch, chain 37 stitches. Then attach the chain with a SC to the corner edge of your bag (on the same side). Then SC into each row down to the rim of the bag and then back up the other side. Then SC into each chain stitch to finish the strap. Fasten off.
Re attach your yarn and do the same for the other strap.

The last thing we do for every piece is weave in the ends. That’s basically just tidying up the piece so all loose ends are trimmed down and tucked into the inside of your work. You use your darning needle and weave those ends into the seams so they are nicely hidden away.