








THE EASY FRILL COASTERS
Your step-by-step guide to making your masterpiece
Hey there, stitch superstar! You’ve just unlocked the secret sauce to making your own set of crochet coasters, and we’re excited to be stitching it out with you.
This guide will be your BFF through the entire journey. Whether you’re brand new to crochet or just here for a refresh, we’ll take you from “how do I hold this hook?” to “look what I made!” — one row at a time.
Heads up! You'll need the physical pattern that came with your kit as well as this online guide. The pattern contains the specifics, this guide gives you the extra layer of detail.


INCLUDED IN YOUR KIT


PRACTICE MAKES PERFECT (Or CLOSE ENOUGH!)
Before we dive into the good stuff, let’s warm up those hands and your hook. Think of this like stretching before a workout, except comfier, cuter, and way more fun.
Grab some of the yarn from your kit (just a little, you’ve got enough to spare!), and get familiar with the motions. Try out the stitches you’ll be using in this pattern. This is your time to mess it up, try again, and feel things out — no pressure, no judgement, just you and your new fave hobby.
Bonus: Practising now = fewer headaches later (trust us on this one).
💡 For this practise session we recommend you crochet a flat square - it's the best way to learn the stitches and once you've got that mastered you can move into the pattern and learn the magic ring.
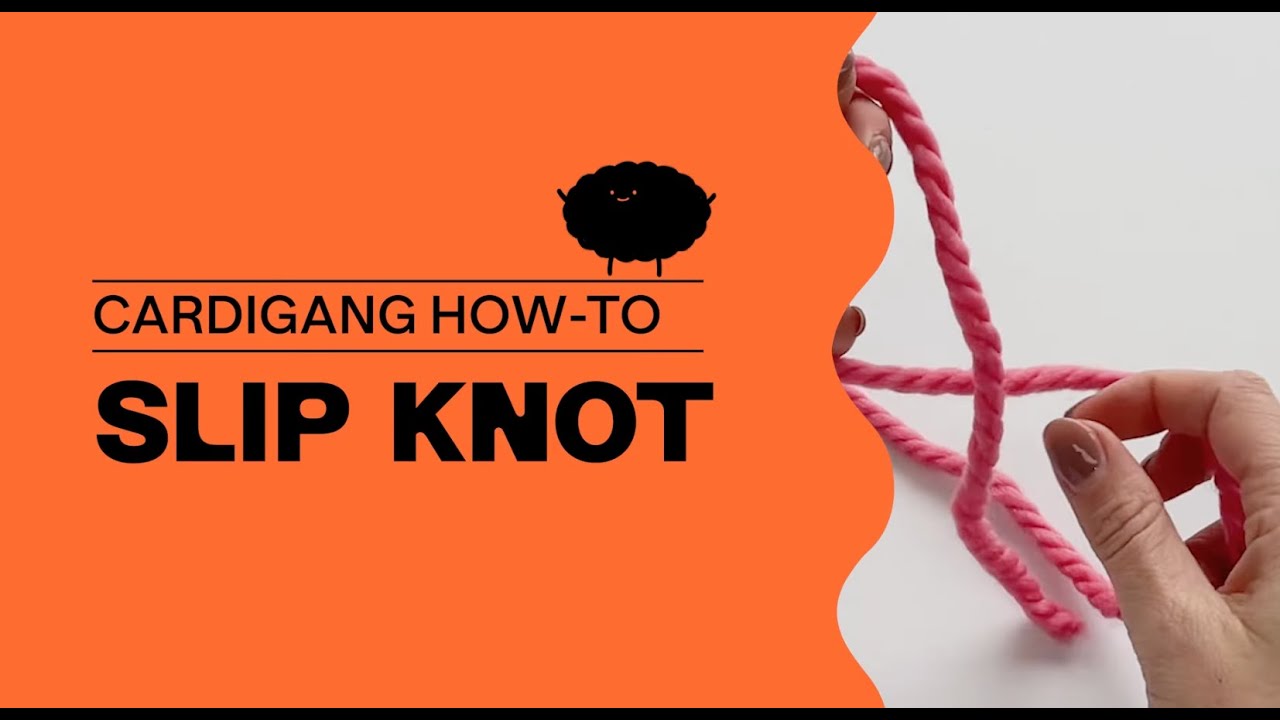
Slip Knot
Chain
Single Crochet
Double Crochet
Slip Stitch
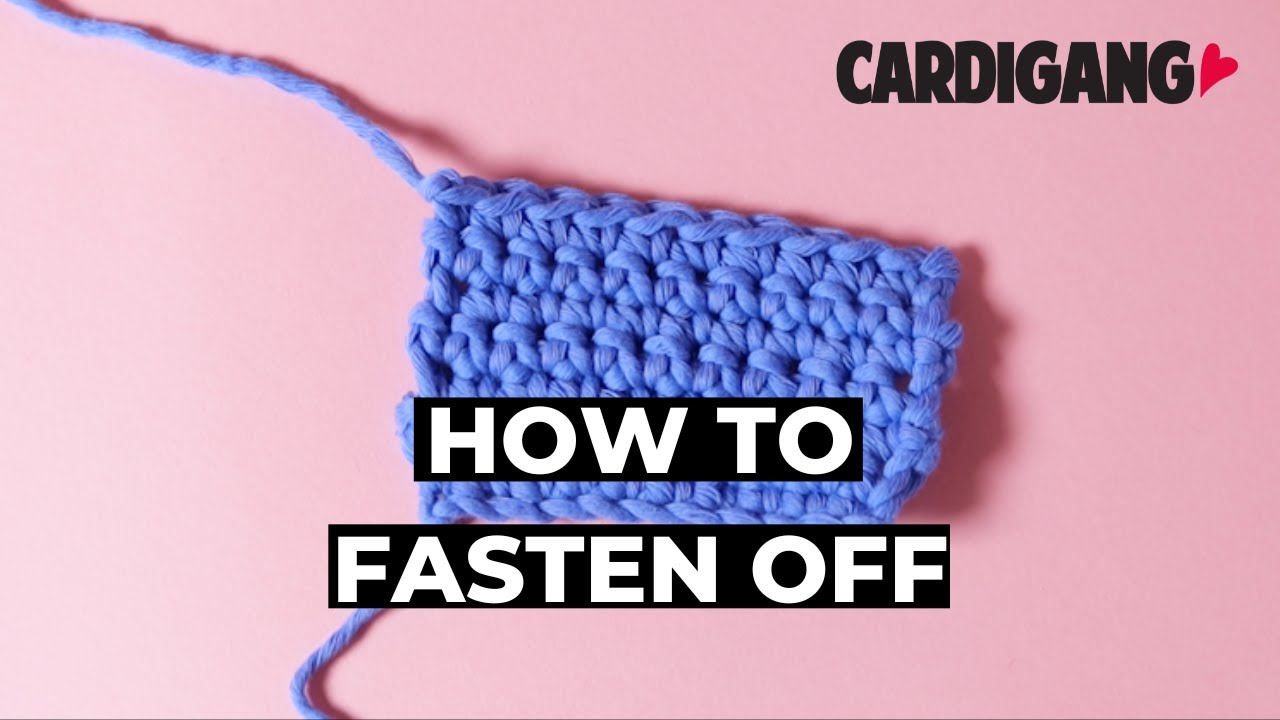
Fasten Off


Repeat after me:
“I solemnly swear to crochet bravely, unpick calmly, and pretend I meant to do that.
I accept that chaos is part of the craft, and possibly part of my personality.
I will finish what I start… eventually.”


You’ll crochet your coaster in one square using single crochet stitches. Then you’ll use your second colour to add the scalloped edging around all four edges.
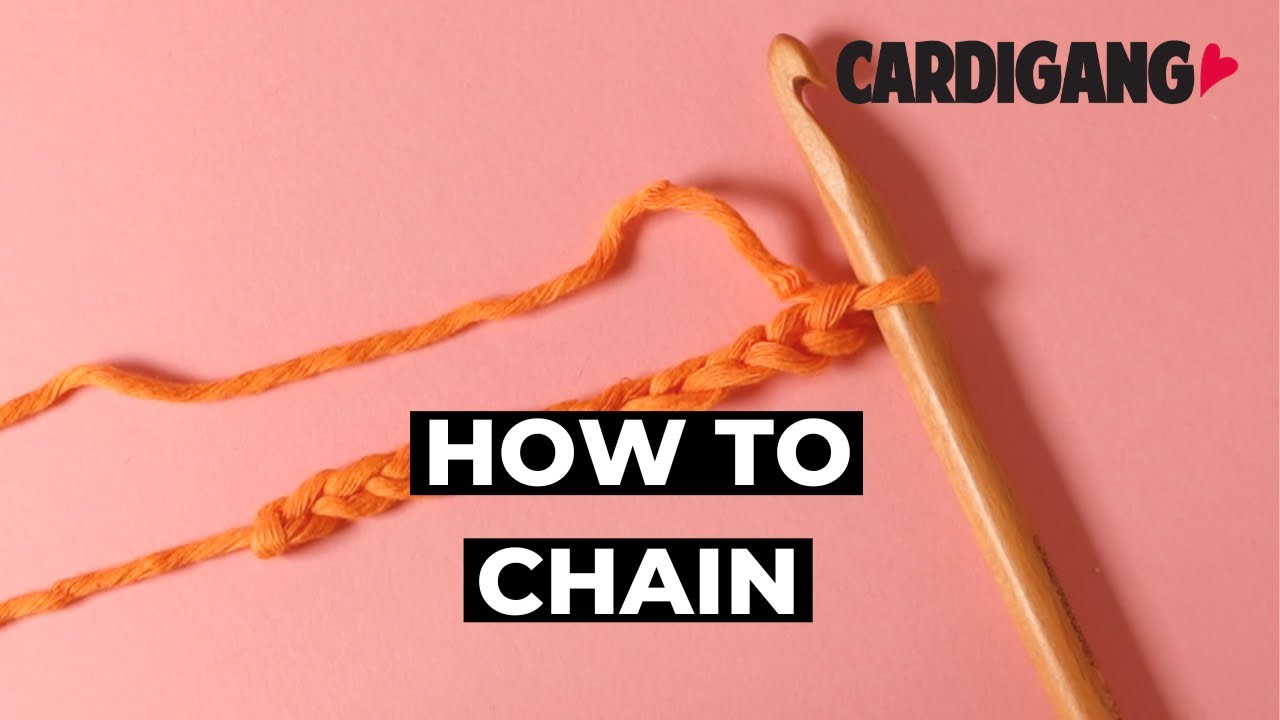
First you'll make your foundation chain using your first colour. The key to a good chain is making each stitch as close to the same size as possible.
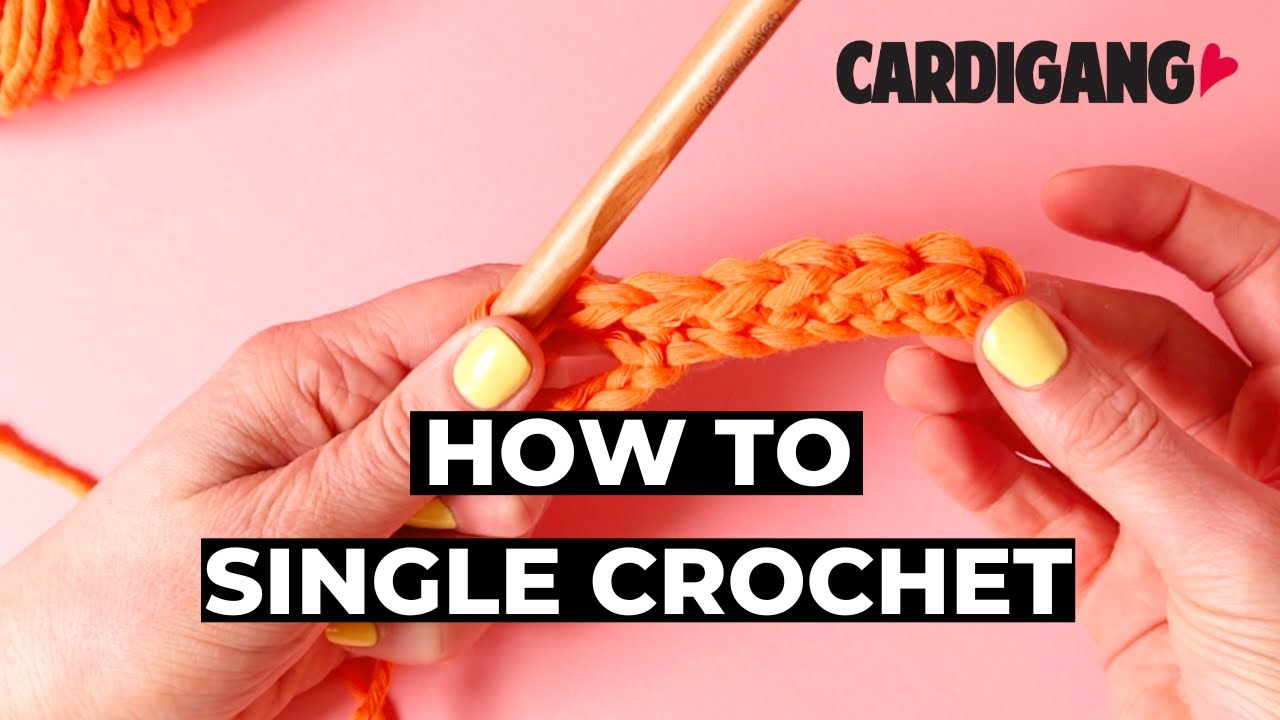
We're going to begin with one row of single crochet (SC) stitches.
When working in SC into the foundation chain you always insert your hook into the second chain from the hook, the first chain is what gives us the height we need to create the stitch. In all subsequent rows you'll work into every stitch in the row.
When you reach the end of your row, count your stitches to make sure you've got 15, then chain 1 and turn your work. The chain 1 gives us the height we need to complete the new row.
💡 If you're struggling to pull your hook through the loops, chances are your tension is too tight. Loosen up when you yarn over so that the hook has more space to get through.
Continue working in SC until you've completed all your rows. Make sure you count your stitches every row to ensure you're not adding or losing stitches.
Hot tip - tick the circles off as you go to keep track of your rows.

Now that our square is finished you're going to add the scalloped edge, working around all four sides as follows.
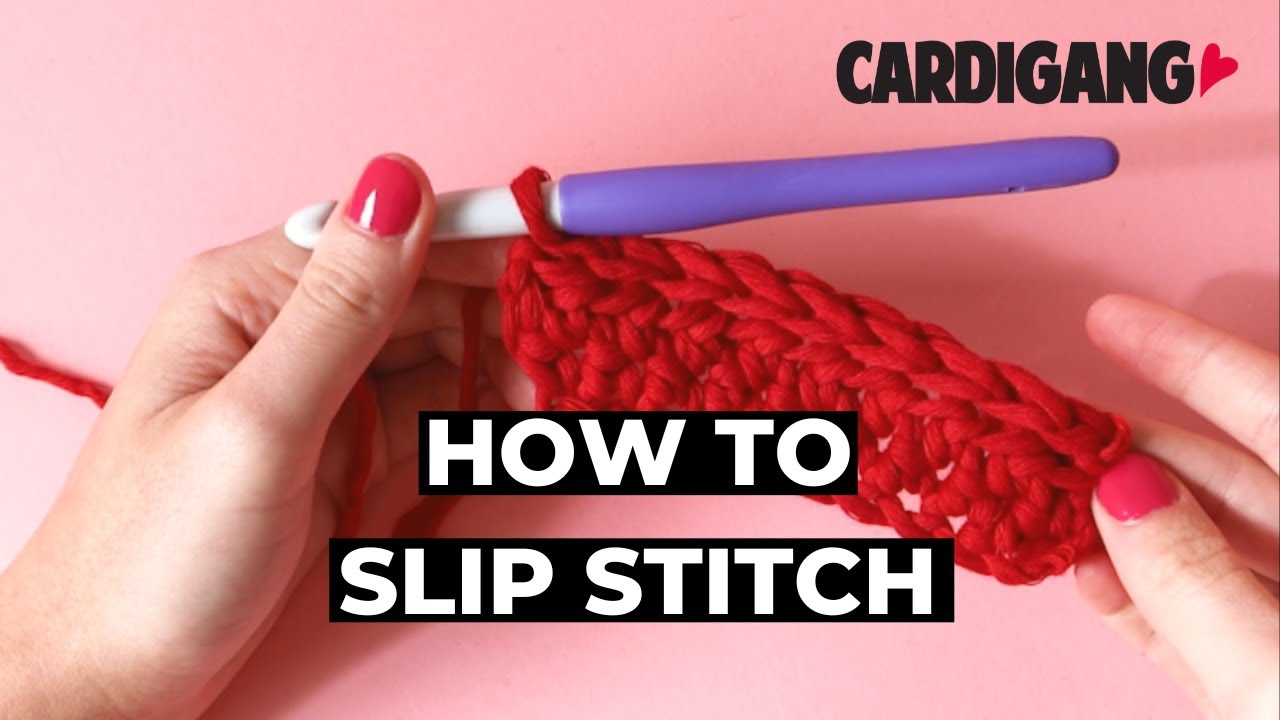
- Using your second colour, attach your yarn to one corner (any corner is fine). To rejoin your yarn, make a slip knot and place it on your hook. Then insert your hook into the stitch where you want to begin. Yarn over and pull the yarn through the stitch and the loop on your hook to make a slip stitch.
- First chain 3, then in the same corner space do 4 DC stitches. Each cluster of DC's creates one frill.
- Then follow this 3 stitch sequence: skip one stitch, do a slip stitch into the next stitch, chain 1 then do 3 DC into the next stitch. Repet working down the side of your triangle.
- When you reach the next corner do 5 DC into that spot (it fans out more to help with the direction change).
- Continue working around the edges of your coaster. When you reach the first cluster, do a slip stitch into the top of the chain 3 to join. Then fasten off.
Repeat for the rest of your coasters. Remember to alternate your colour one and two choices so you use the yarn allowance evenly.

BLOCKING (Optional)
The final step in finishing a piece is to block it. This step is optional and not all beginner crocheters will block their work but it can improve the overall shape and finish of your piece, and in this case, it can help the coasters sit flat.
Blocking is a process where you wet your piece to set the finished size and even out the stitches.
Soak your piece in cool water. You only need to let your piece sit in the water for a few minutes and make sure the full piece is completely wet.
Remove your piece from the water and dry it off by rolling it in a towel. You want to get us much of the moisture out of it as possible at this point but be gentle! You don't want to stretch the piece.
Transfer your damp piece to a flat surface to block it on. If you've got a blocking mat - great! otherwise a towel will work. The surface needs to be somewhere where your work can lie flat and can stay there until it fully dries so that the shape sets properly. Make sure it's not a surface that can be easily damaged by having something wet sitting on it!
Arrange your piece so the right side is facing up and the shape is as you'd like it. If you've got a measuring tape you can measure and adjust the piece so it's the correct size.
Allow the work to air dry - this can take a few days. You can also use a hair dryer to speed up the process, just use a light heat and don't concentrate the air in one spot.
