











THE EASY PHONE BAG
Your step-by-step guide to making your masterpiece
Hey there, stitch superstar! You’ve got your knitting kit and you've unlocked the secret sauce to making your very own phone bag, and we’re excited to be stitching it out with you.
This guide will be your BFF through the entire journey. Whether you’re brand new to knitting or just here for a refresh, we’ll take you from “how do I hold these sticks?” to “look what I made!” — one cosy row at a time.
Heads up! You'll need the physical pattern that came with your knit kit as well as this online guide. The pattern contains the specifics, this guide gives you the extra layer of detail.


INCLUDED IN YOUR KIT


PRACTISE MAKES PERFECT (Or CLOSE ENOUGH!)
Before we dive into the good stuff, let’s warm up those hands and needles. Think of this like stretching before a workout, except comfier, cuter, and way more fun.
Grab some of the yarn from your kit (just a little, you’ve got enough to spare!), and get familiar with the motions. Try out the stitches you’ll be using in this pattern. This is your time to mess it up, try again, and feel things out — no pressure, no judgement, just you and your new fave hobby.
Bonus: practising now = fewer headaches later (trust us on this one).
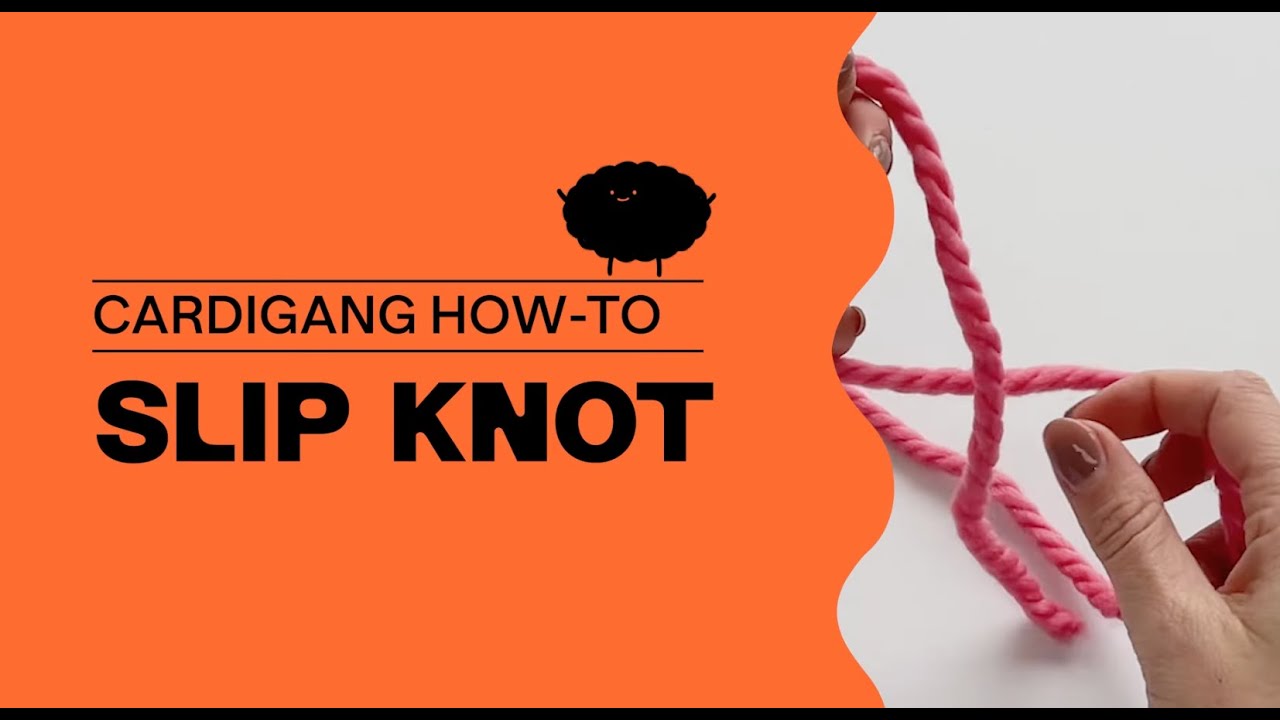
Slip Stitch
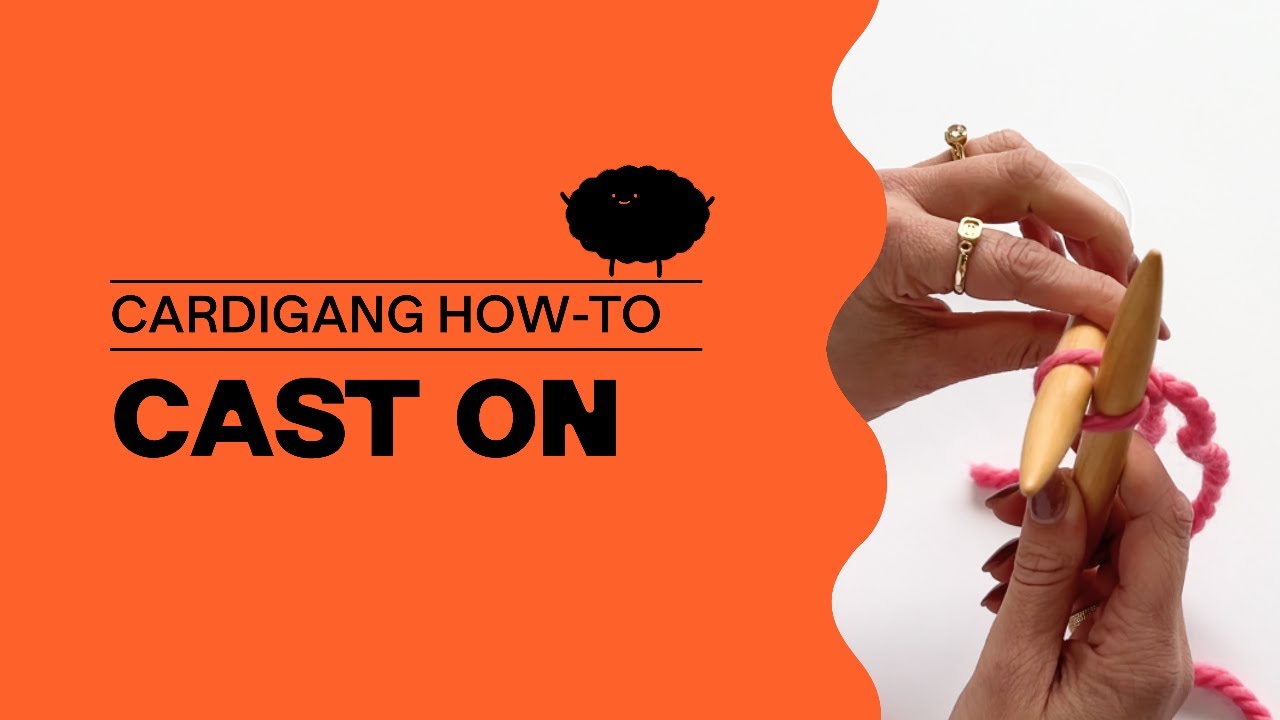
Casting On
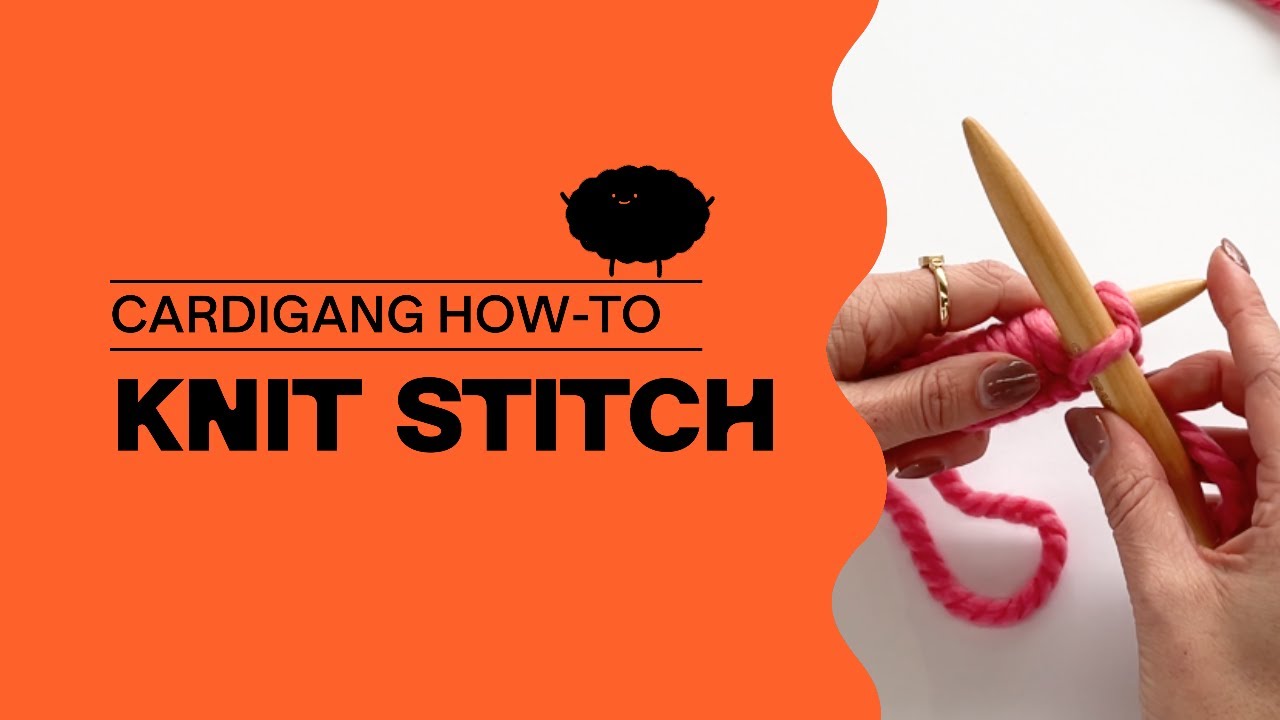
Knit Stitch
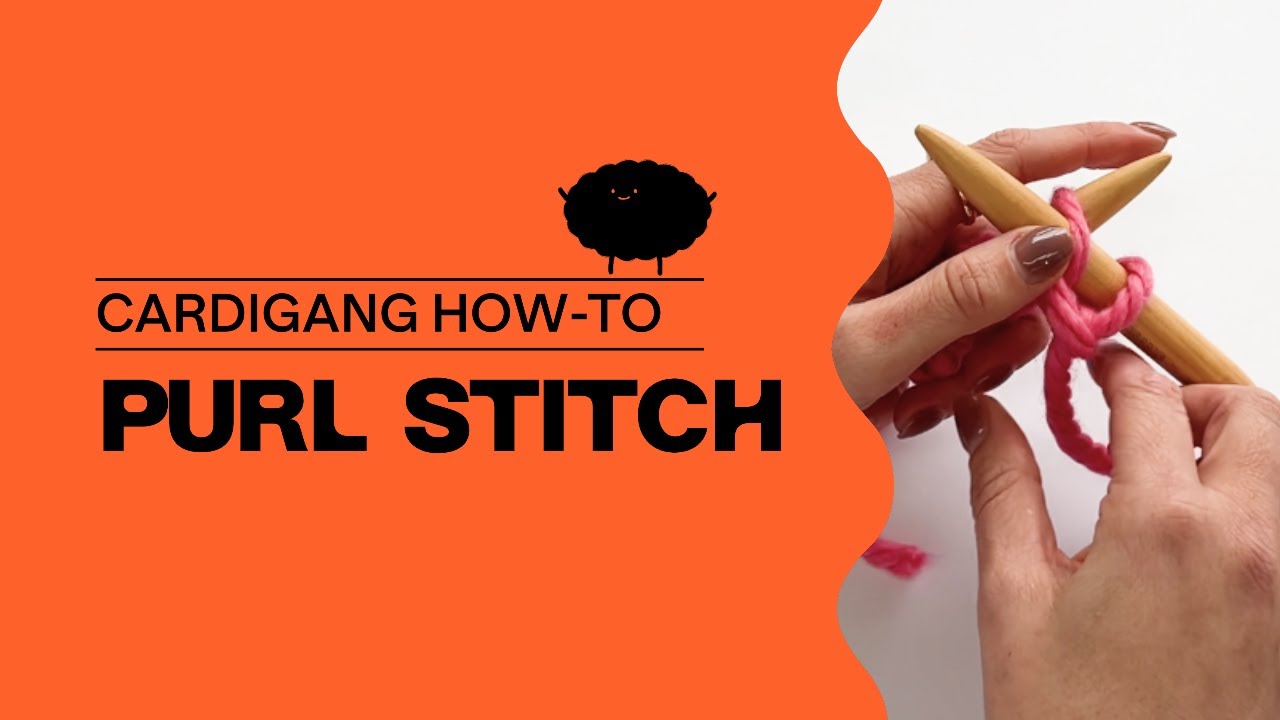
Purl Stitch
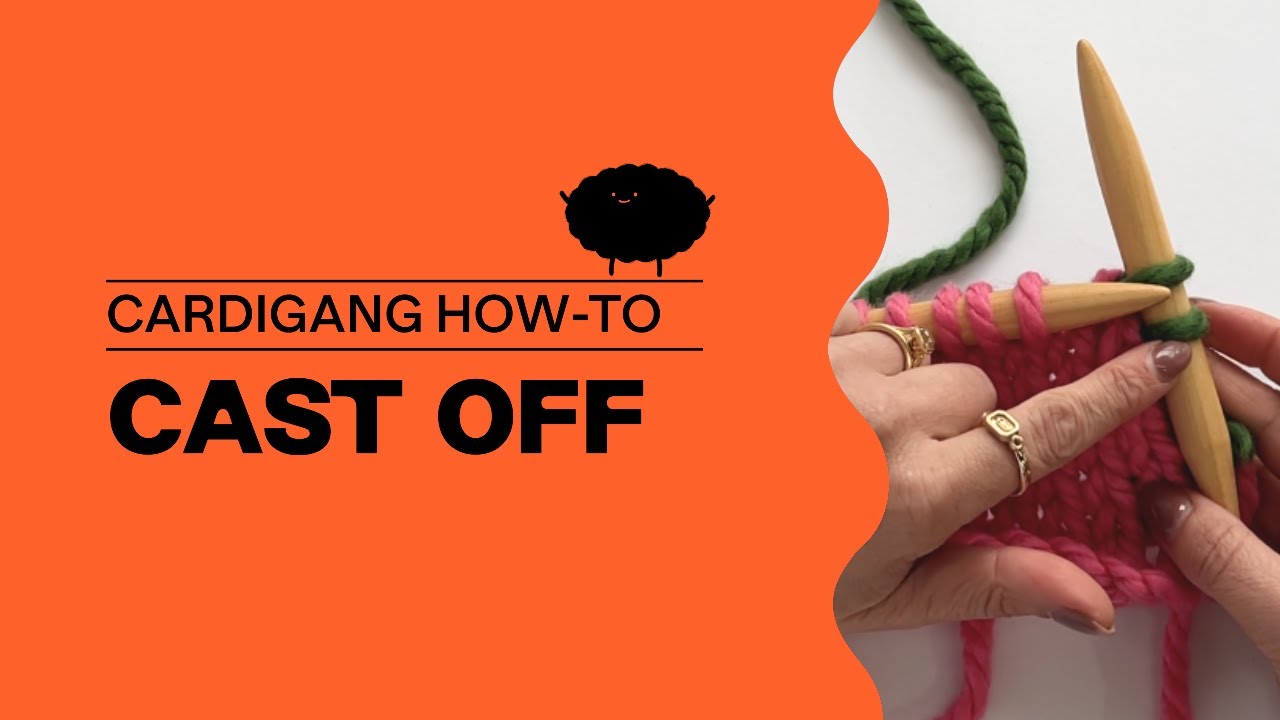
Casting Off


Repeat after me:
“I solemnly swear to knit bravely, unpick calmly, and pretend I meant to do that.
I accept that chaos is part of the craft, and possibly part of my personality.
I will finish what I start… eventually.”


To make your phone bag, you’ll begin by knitting one simple rectangular piece to form the body of the bag. Next, you’ll create an i-cord, which will become the strap. Finally, you’ll fold and seam the rectangle to shape the bag, attach the i-cord strap, and add tassels for a fun finishing touch.
Using your 5mm needles, cast on the correct number of stitches.
💭 Your stitches will run down onto the plastic tube connecting your needles. That's totally fine! Circular needles are a knitters bestie - even if you’re knitting flat! Instead of cramming a mountain of stitches onto two straight sticks, circular needles let the project sit comfortably on a flexible cord, taking the weight off your hands and wrists.
💡 Your piece of knitting will grow as you knit so don't be concerned if after you've cast on the piece doesn't look big enough.
We’ll knit the body of the bag in stockinette stitch. To create this stitch pattern, knit every stitch across one row, then purl every stitch across the next. Continue alternating between a knit row and a purl row as instructed.
💭 One of the things we found the hardest when we were learning to knit was keeping track of our rows. Before we were able to easily identify a row of stitches we used a pen and paper to keep track. That's why we've included handy circles in our patterns - you can tick them off as you go.
Cast off your stitches!
When you've got just one stitch left on your right needle, simply cut your yarn from the ball (leaving about 15cm) and thread it back through your last stitch to secure it.
🔥 Nice Work! Time to make the i-cord.
We'll knit the i-cord with only two stitches on our needle. So cast on two stitches.
Knit both stitches from the left needle onto the right needle. Once you’ve knitted the second stitch, don’t turn your work. Instead, slide the two stitches back onto the left needle, keeping them in the same order. The stitch attached to the working yarn should now be the one furthest from the tip of the needle.
Bring the working yarn firmly across the back of the two stitches. This pulls the edges together and begins forming the cord’s neat, tube-like shape. Knit both stitches again, then slide them back onto the left needle without turning your work.
The video below demonstrates the technique but just note, the video shows a 3 stitch i-cord, you're doing a 2 stitch i-cord 😇
Continue repeating these steps - knit two stitches, slide them back to the left needle, and pull the yarn firmly across the back - until your i-cord reaches the length specified in the pattern. Keep your tension snug and even as you work, but avoid pulling so tightly that the stitches become difficult to knit. After a few rows, gently tug the cord downward to help the stitches settle into shape.
When the cord is done, cut the yarn from the ball and thread it back through the two stitches on your needle to secure them.

Time to construct our bag! The diagram above illustrates the process of seaming the bag and adding the i-cord.
Fold the rectangle in half along the bottom edge to form a square, with the right sides facing each other. Using a darning needle and piece of yarn, seam the two side edges together. At the folded edge, leave a gap of approximately 1 cm in each side seam for the bag strap.
Turn the bag right side out.
Feed the strap through the 1 cm opening and up along the inside edge of the bag, as shown in the diagram. Secure it in place by sewing a second seam parallel to the side edge, approximately 1 cm in from the edge. Sew from the top of the bag to the bottom, taking care not to stitch through the strap. The strap should sit freely inside the narrow channel created by the two seams.
Repeat on the second side.
Finally, let’s make the tassels. Wrap the yarn around three fingers 10–15 times, keeping the strands neat and the tension even. The more times you wrap the yarn, the fuller your tassel will be.
Cut a separate length of yarn and slide it beneath the wrapped strands at the top. Tie it tightly around the bundle with a secure double knot, leaving the ends long enough to attach the tassel later. Carefully remove the bundle from your fingers, then cut through the loops at the opposite end.
To create the tassel head, wrap another length of yarn firmly around the bundle several times, just below the top knot. Tie it securely, weave in or trim the ends, then gently straighten the strands and trim the bottom so they sit evenly.
Thread one of the long top strands through your darning needle and sew the tassel securely to one end of the strap. Weave in any remaining ends, then repeat these steps to make and attach a second tassel to the other end.

