


THE HANNAH BLANKET
Your step-by-step guide to making your masterpiece
Hey there, stitch superstar! You’ve just unlocked the secret sauce to making your very own Spring Fling Hannah Blanket, and we’re excited to be stitching it out with you.
This guide will be your BFF through the entire journey. Whether you’re brand new to knitting or just here for a refresh, we’ll take you from “how do I hold these sticks?” to “look what I made!” — one cosy row at a time.
Heads up! You'll need the digital pattern that came with your knit kit as well as this online guide. The pattern contains the specifics, this guide gives you the extra layer of detail.

INCLUDED IN YOUR KIT


PRACTICE MAKES PERFECT (Or CLOSE ENOUGH!)
Before we dive into the good stuff, let’s warm up those hands and needles. Think of this like stretching before a workout, except comfier, cuter, and way more fun.
Grab some of the yarn from your kit (just a little, you’ve got enough to spare!), and get familiar with the motions. Try out the stitches you’ll be using in this pattern. This is your time to mess it up, try again, and feel things out — no pressure, no judgement, just you and your new fave hobby.
Bonus: practising now = fewer headaches later (trust us on this one).
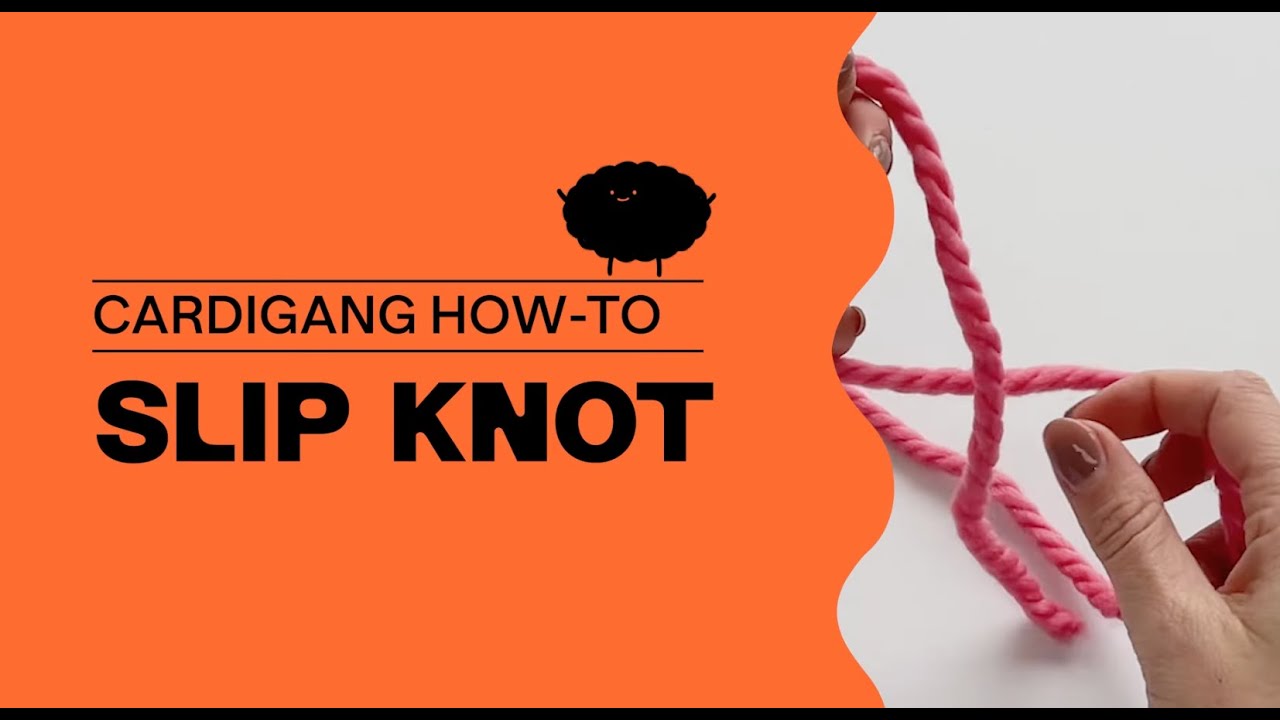
Slip Knot
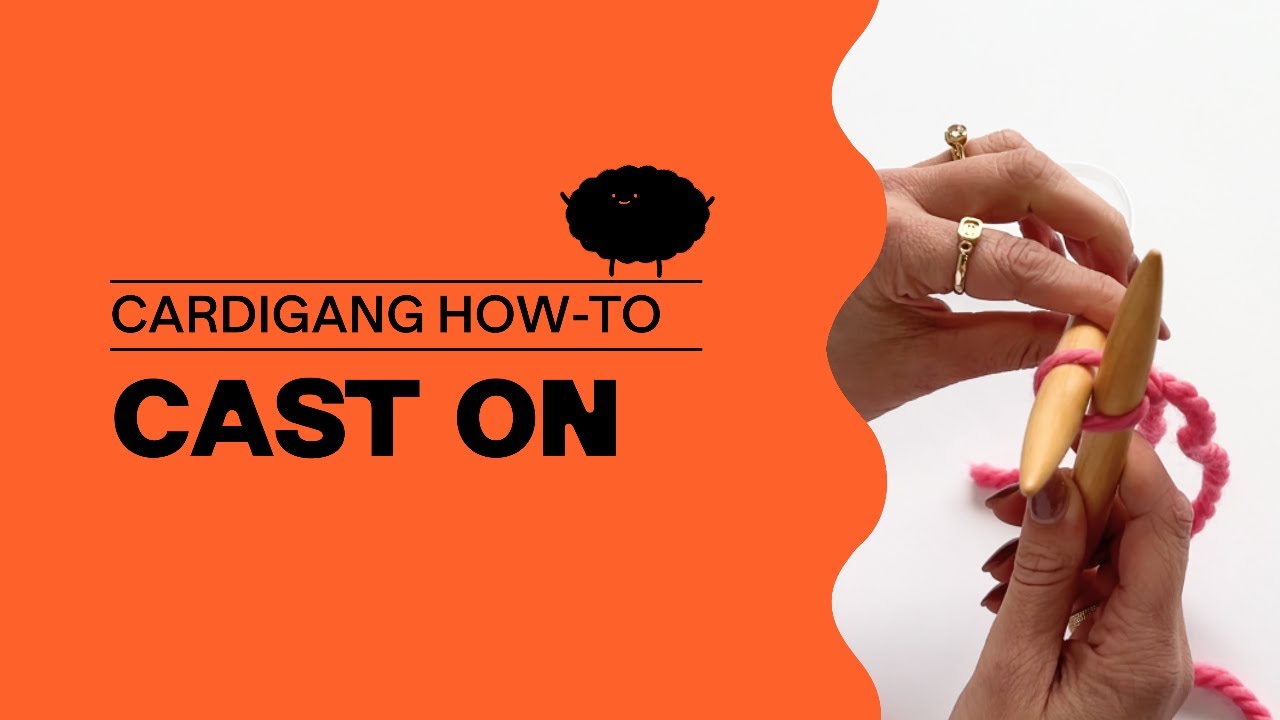
Casting On
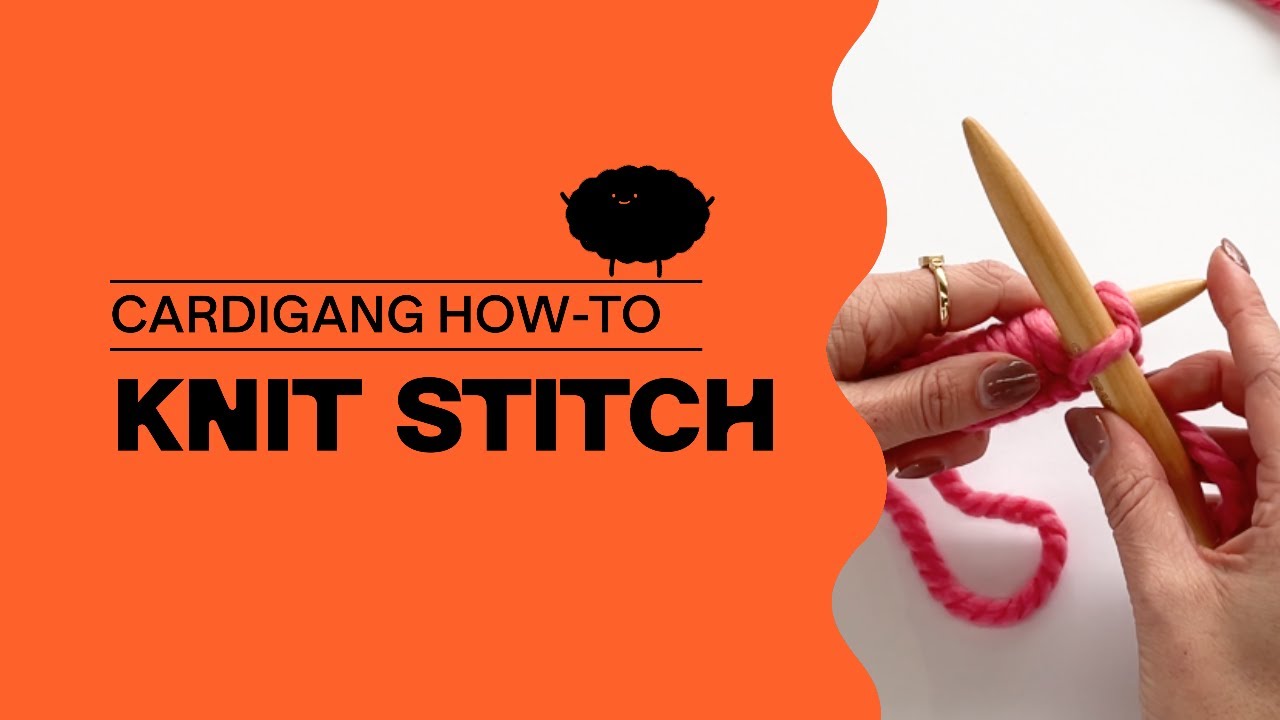
Knit Stitch
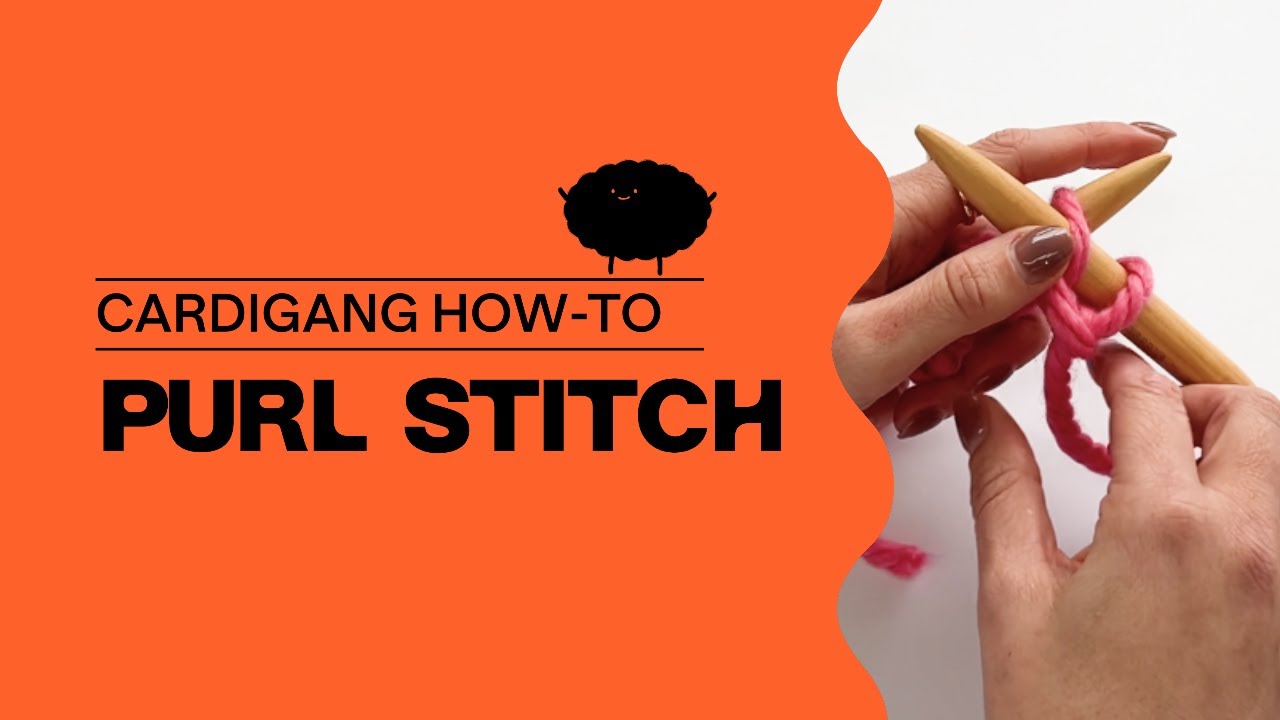
Purl Stitch
Cast Off

TEST YOUR GAUGE
Once you’re feeling comfy with the stitches, it’s time to check your gauge. We know, we know — it sounds technical, but it’s really just about making sure your tension matches the pattern.
Why? Because different knitters = different stitch tightness. And we want your finished masterpiece to fit like a dream.
So grab your measuring tape, knit up a little swatch (there’s a guide for that at the link below!), and let’s make sure you’re on track before the main event begins.
 How to test your gauge
THE HANNAH BLANKET
If done correctly, your 10x10cm knitted swatch should measure 7 stitches wide, and 9 rows high when knitted in stockinette stitch on your 15mm needles.


Repeat after me:
“I solemnly swear to knit bravely, unpick calmly, and pretend I meant to do that.
I accept that chaos is part of the craft, and possibly part of my personality.
I will finish what I start… eventually.”


Your blanket is knitted in three equally sized pieces. Just like 3 scarves. Once the pieces are knitted you’ll sew them together to create your blanket.
PIECE ONE

Using your 15mm needles and your main colour (Spring Fling) cast on 30 stitches.
💭 Circular needles are a blanket maker’s bestie—even if you’re knitting flat! Instead of cramming a mountain of stitches onto two straight sticks, circular needles let the project sit comfortably on a flexible cord, taking the weight off your hands and wrists.
💡 Your piece will grow as you knit so don't be concerned if after you've cast on the piece doesn't look quite wide enough.
We're going to start by doing 4 rows of knit stitch. By knitting every stitch in every row we create a stitch pattern called garter stitch.
💭 One of the things we found the hardest when we were learning to knit was keeping track of our rows. Before we were able to easily identify a row of stitches we used a pen and paper to keep track. That's why we've included handy circles in our patterns - you can tick them off as you go.
Next we'll do knit in stockinette stitch pattern. This stitch pattern forms the basis for our blanket and it's made by alternating rows of knit stitch and purl stitch.
Stockinette stitch is a really versatile stitch pattern, and as you knit, you'll see it has a 'front' or 'right' side (the 'V's) and a back or reverse side (the bumps).
Here we'll do our first colour change. Change colour before you begin the next row, by tying a knot with the new yarn around the tail of the old yarn and begin knitting with the new colour.
Continue knitting in stockinette stitch using the new colour.
Continue knitting and changing colours as instructed. The circles are your best friend here. They will help you keep track of the colour you're working with, as well as the stitch type.
🎉 Cast off your stitches.
When you've got just one stitch left on your right needle, simply cut your yarn from the ball (leaving about 20cm) and thread it back through your last stitch to secure it.
PIECE TWO & THREE
Pieces two and three use the same techniques. Beginning with 4 rows of garter stitch, then working in stockinette stitch and changing colours as instructed. Then finishing with 4 more rows of garter stitch before casting off.
SEAMING
Time to get to work with our darning needle and sew these pieces together.
Line your pieces up on a flat surface with the right sides facing up (the sides where you can see the V pattern).
Start by seaming piece one and two together using the invisible seam technique demonstrated in the video below.
It can be difficult, as a beginner, to make sure your pieces stay aligned as you seam them together, so we suggest using some safety pins to pin the pieces together in places, that will help maintain alignment.
If you're anything like us you might find seaming a bit of a pain and hard to make super neat. It's a common beginner challenge! The main principle with seaming, no matter what seaming method you use, is be sure you're entering into the same place on each stitch along the seam. This consistency makes it harder to see the seam.
Once the first two pieces are sean together, you'll repeat the method to join the third piece.
The last thing we do for every piece is weave in the ends. That’s basically just tidying up the piece so all loose ends are trimmed down and tucked away. Use your darning needle and weave those ends into the fabric so they are nicely hidden away.

BLOCKING (Optional)
The final step in finishing a knitted piece is to block it. This step is optional and not all beginner knitters will block their work (we sometimes didn't! 🤣) but it can improve the overall shape and finish of your piece.
Blocking your knitting is a process where you wet your piece to set the finished size and even out the stitches.
You can choose to block your work before you seam it together, or after. If you block before seaming together you might get a better result with your seaming because the stitches will be more lined up.
Soak your knit in cool water. You only need to let your piece sit in the water for a few minutes and make sure the full piece is completely wet.
💡 You can also use a spray bottle and spritz the knit with cool water if you'd prefer.
Remove your knit from the water and dry it off by rolling it in a towel. You want to get us much of the moisture out of the knit as possible at this point but be gentle! You don't want to stretch the knit.
Transfer your damp knit to a flat surface to block it on. If you've got a blocking mat - great! otherwise a towel will work. The surface needs to be somewhere where your knit can lie flat and can stay there until it fully dries so that the shape sets properly. Make sure it's not a surface that can be easily damaged by having something wet sitting on it!
Arrange your piece so the right side is facing up and the shape is as you'd like it. If you've got a measuring tape you can measure and adjust the piece so it's the correct size.
Allow the knit to air dry - this can take a few days. You can also use a hair dryer to speed up the process, just use a light heat and don't concentrate the air in one spot.
