


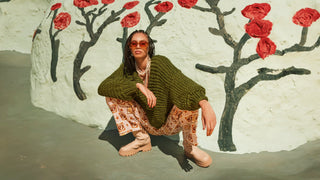


THE SALLY COASTERS
Your step-by-step guide to making your masterpiece
Hey there, stitch superstar! You’ve got your knitting kit and you've unlocked the secret sauce to making your very own set of Sally Coasters, and we’re excited to be stitching it out with you.
This guide will be your BFF through the entire journey. Whether you’re brand new to knitting or just here for a refresh, we’ll take you from “how do I hold these sticks?” to “look what I made!” — one cosy row at a time.
Heads up! You'll need the digital pattern that came with your knit kit as well as this online guide. The pattern contains the specifics, this guide gives you the extra layer of detail.


INCLUDED IN YOUR KIT


PRACTISE MAKES PERFECT (Or CLOSE ENOUGH!)
Before we dive into the good stuff, let’s warm up those hands and needles. Think of this like stretching before a workout, except comfier, cuter, and way more fun.
Grab some of the yarn from your kit (just a little, you’ve got enough to spare!), and get familiar with the motions. Try out the stitches you’ll be using in this pattern. This is your time to mess it up, try again, and feel things out — no pressure, no judgement, just you and your new fave hobby.
Bonus: practising now = fewer headaches later (trust us on this one).
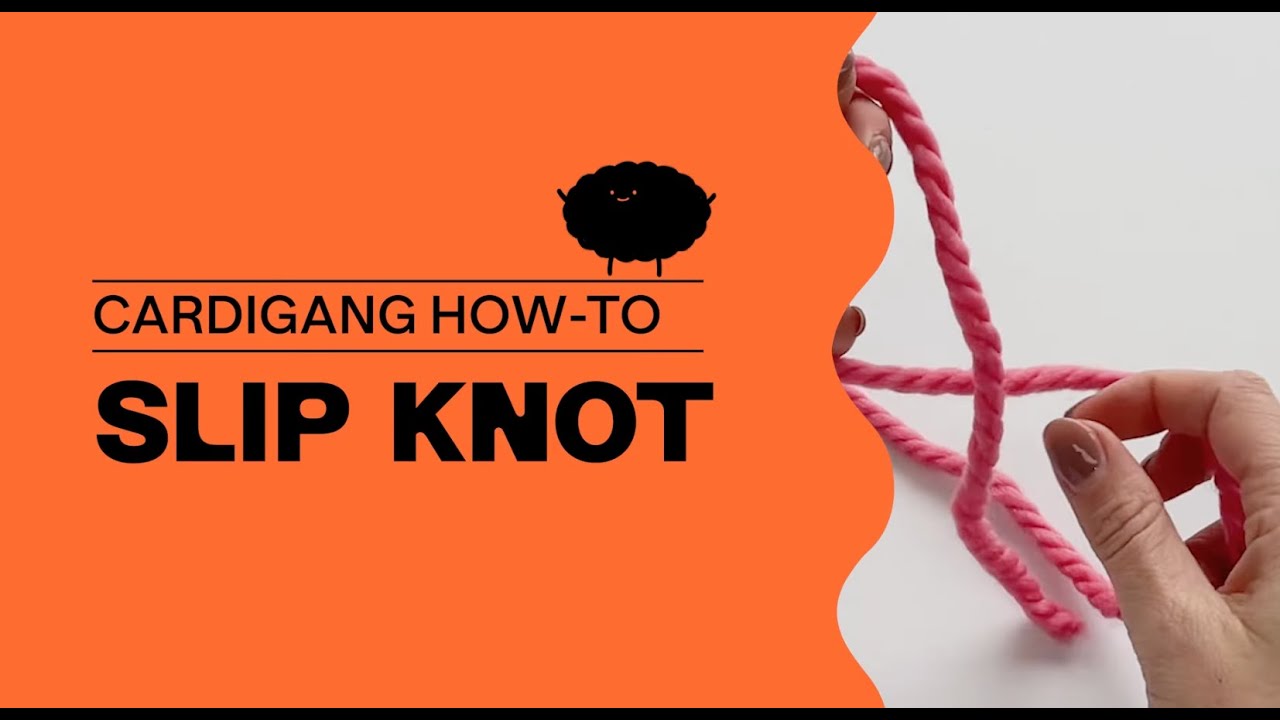
Slip Stitch
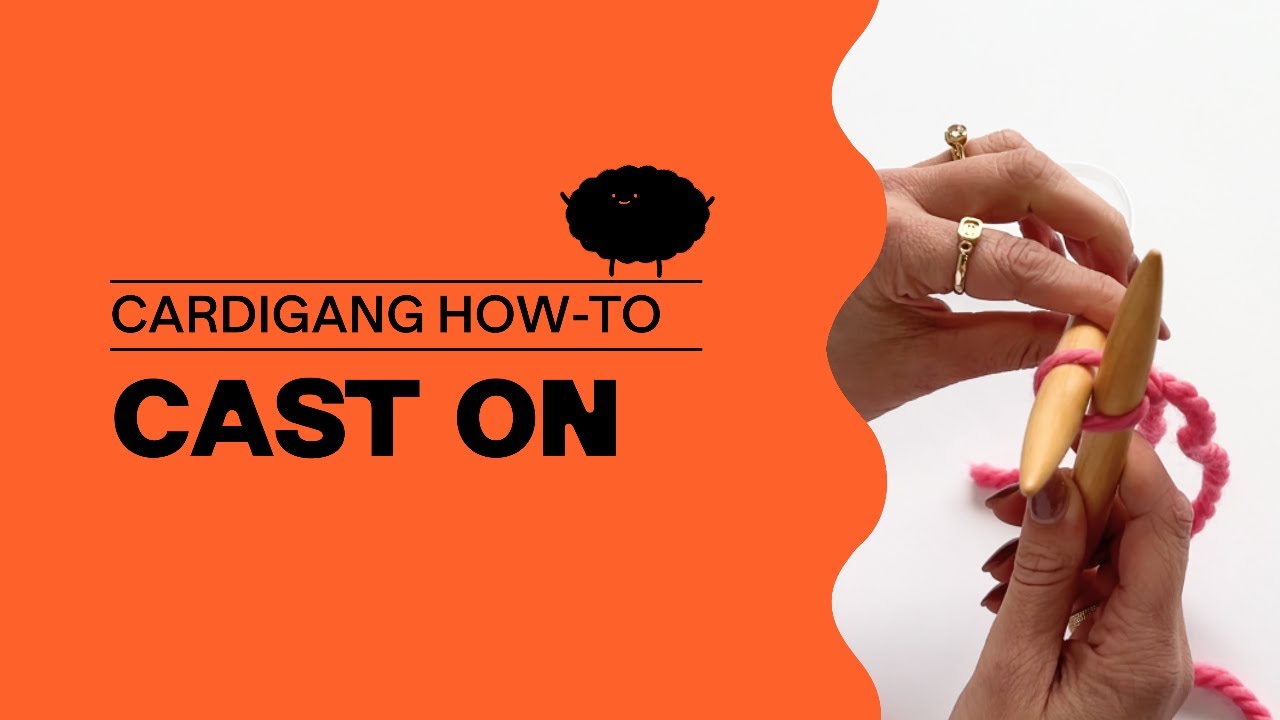
Casting On
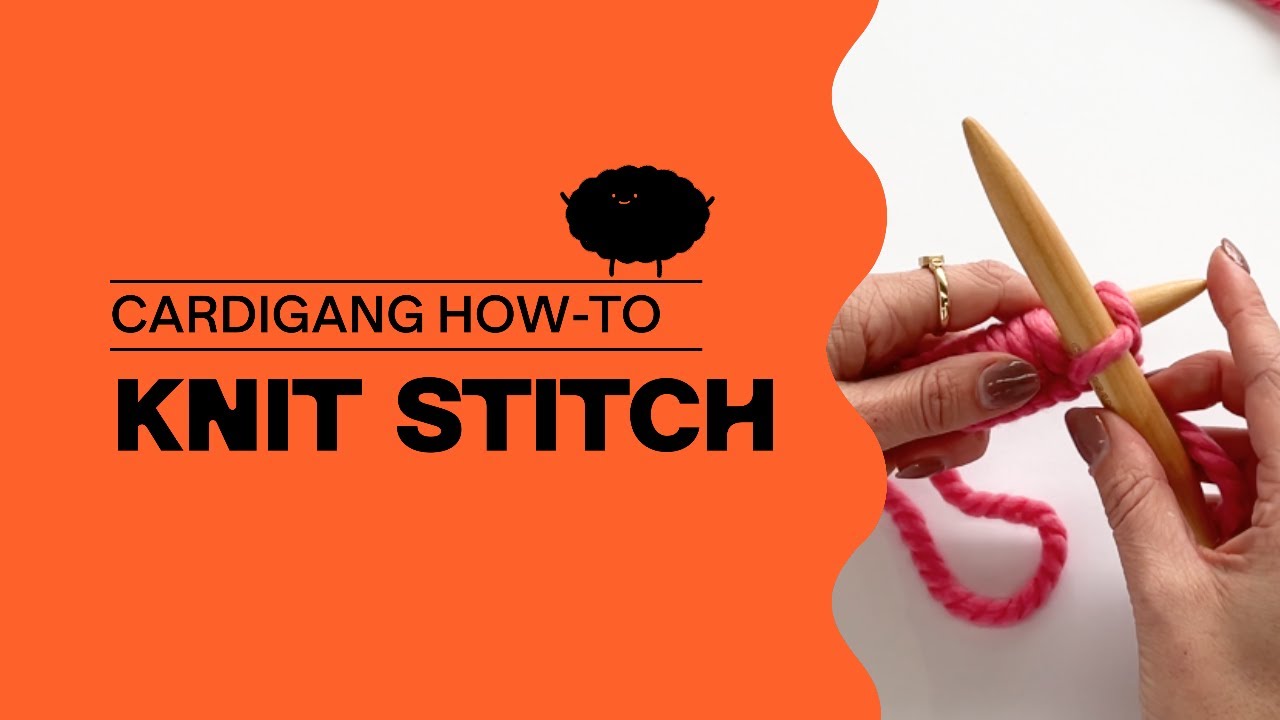
Knit Stitch
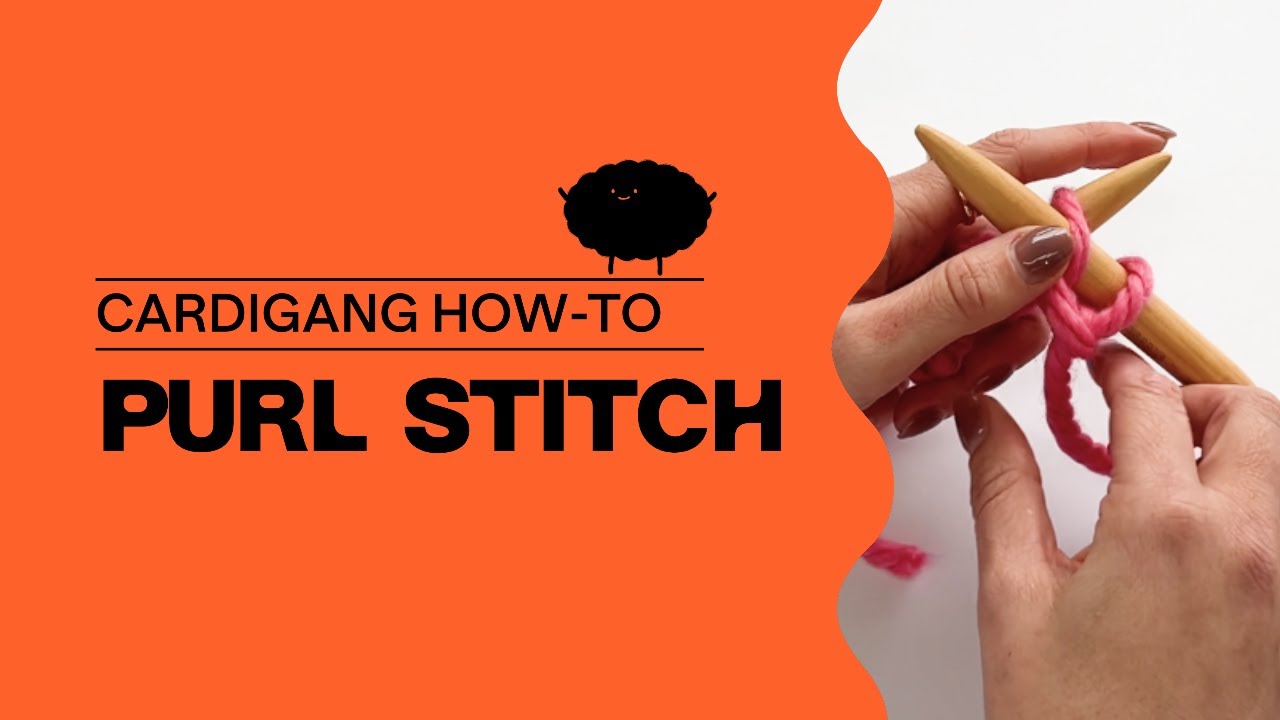
Purl Stitch
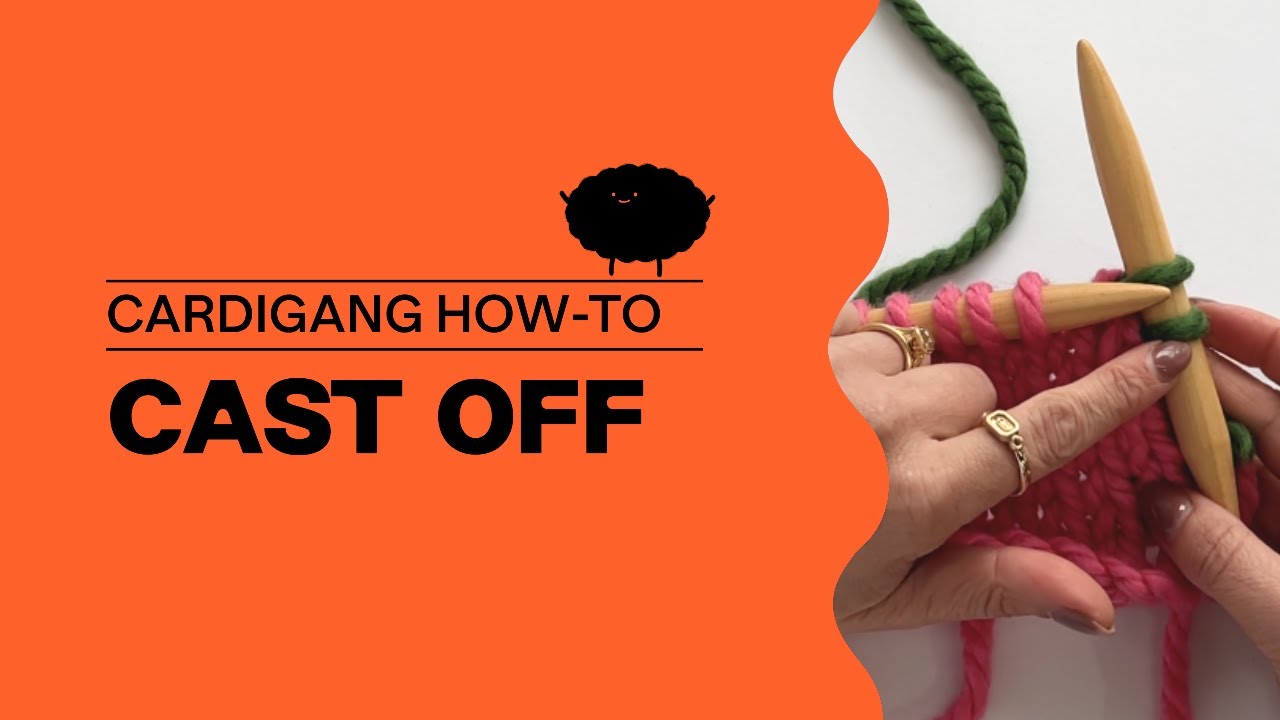
Casting Off


Repeat after me:
“I solemnly swear to knit bravely, unpick calmly, and pretend I meant to do that.
I accept that chaos is part of the craft, and possibly part of my personality.
I will finish what I start… eventually.”


To make our coasters we’ll work in knit stitch and purl stitch. Each coaster has a border of garter stitch which we create by using only knit stitches. Inside that border we’ll alternate knit rows and purl rows to create the stockinette stitch pattern.
THE COASTERS

Using your 12mm needles, cast on the correct number of stitches.
💭 Your stitches will run down onto the plastic tube connecting your needles. That's totally fine! Circular needles are a knitters bestie - even if you’re knitting flat! Instead of cramming a mountain of stitches onto two straight sticks, circular needles let the project sit comfortably on a flexible cord, taking the weight off your hands and wrists.
💡 Your piece of knitting will grow as you knit so don't be concerned if after you've cast on the piece doesn't look big enough.
We begin with 3 rows of garter stitch. Garter stitch is made when you knit every stitch in every row.
💭 One of the things we found the hardest when we were learning to knit was keeping track of our rows. Before we were able to easily identify a row of stitches we used a pen and paper to keep track. That's why we've included handy circles in our patterns - you can tick them off as you go.
The next 2 rows are the pattern we’re going to follow for the next 8 rows. We’re going to continue to create the garter stitch border by knitting the first and last 2 stitches in each row, and in between we’re going to make a stockinette stitch pattern by knitting one row and purling the next.
💡 Make sure you're moving the yarn tail to the back of the work for a knit stitch and to the front of the work for a purl stitch.
We will finish the coaster with 2 more rows of garter stitch. This should be pretty easy now!
Cast off your stitches!
When you've got just one stitch left on your right needle, simply cut your yarn from the ball (leaving about 20cm) and thread it back through your last stitch to secure it.
🔥 Nice Work!
Your kit comes with enough yarn to make 6 coasters, so off you go!

