







THE SYBYLLA CARDIGAN
MY BRILLIANT CAREER
Inspired by Sybylla’s pink writing cardigan from My Brilliant Career, streaming now on Netflix. Oversized, satin-ribboned and made for dreaming, writing and finding your voice.
Now it’s your turn to knit your own brilliant career - let’s get started!


WHAT YOU'LL NEED


PRACTICE MAKES PERFECT (Or CLOSE ENOUGH!)
Before we dive into the good stuff, let’s warm up those hands and needles. Think of this like stretching before a workout, except comfier, cuter, and way more fun.
Grab some of the yarn from your kit (just a little, you’ve got enough to spare!), and get familiar with the motions. Try out the stitches you’ll be using in this pattern. This is your time to mess it up, try again, and feel things out — no pressure, no judgement, just you and your new fave hobby.
Bonus: practising now = fewer headaches later (trust us on this one).
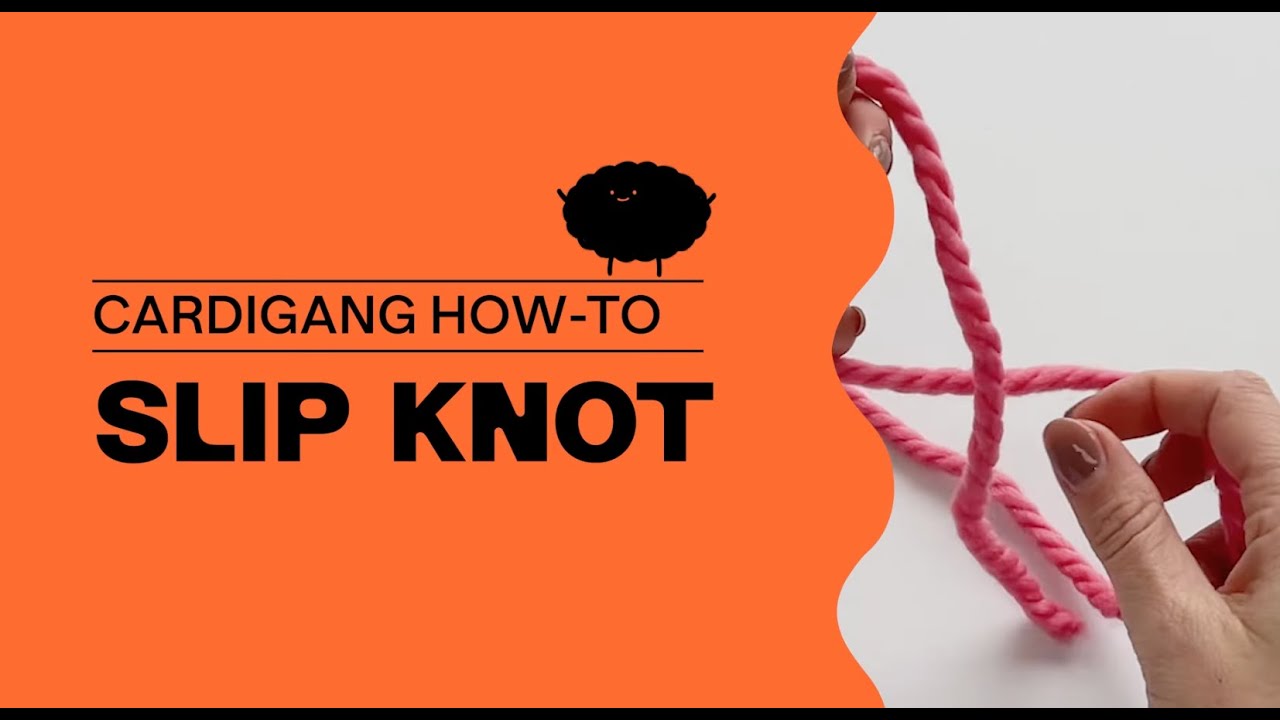
Slip Stitch
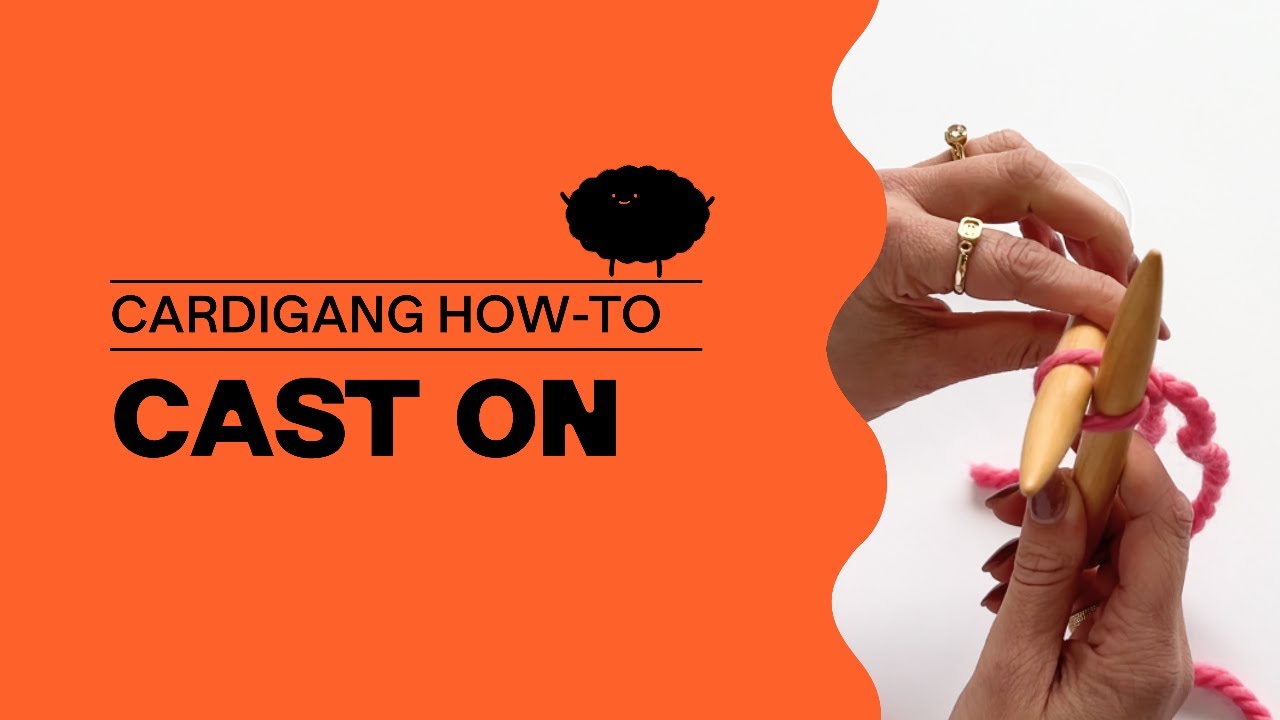
Casting On
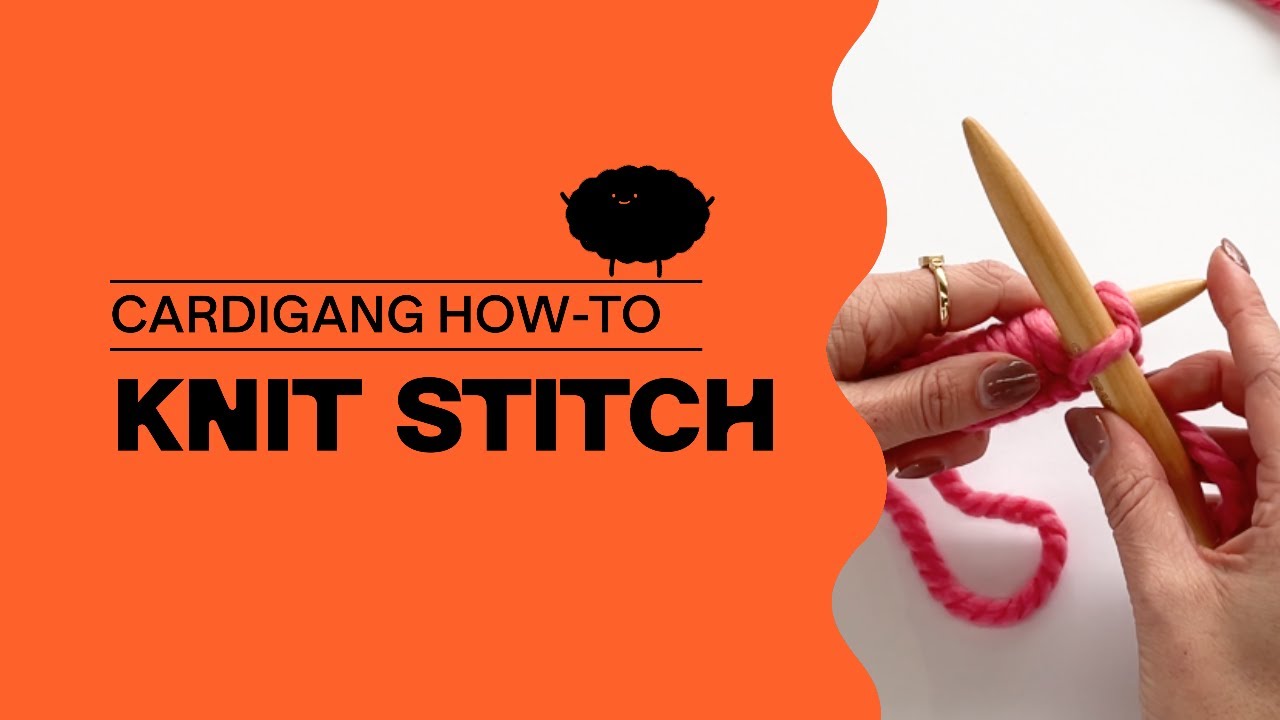
Knit Stitch
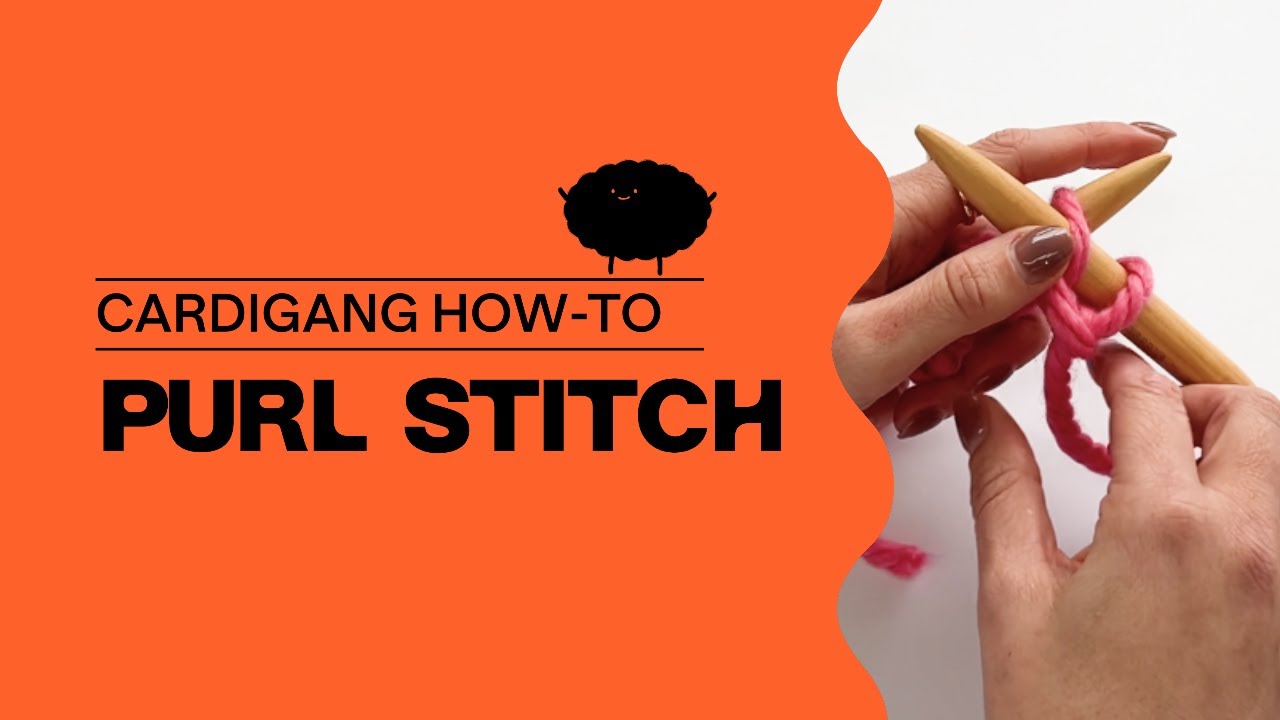
Purl Stitch
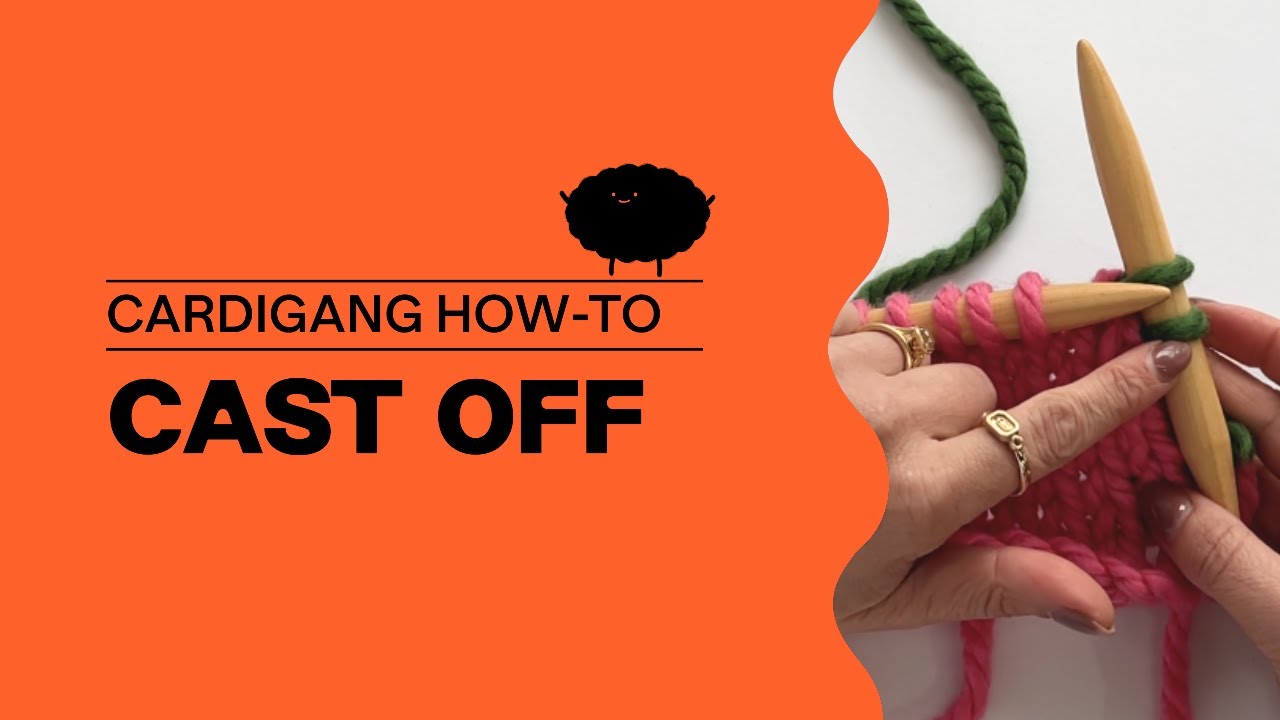
Cast Off

TEST YOUR GAUGE
Once you’re feeling comfy with the stitches, it’s time to check your gauge. We know, we know — it sounds technical, but it’s really just about making sure your tension matches the pattern.
Why? Because different knitters = different stitch tightness. And we want your finished masterpiece to fit like a dream.
So grab your measuring tape, knit up a little swatch (there’s a guide for that at the link below!), and let’s make sure you’re on track before the main event begins.
 How to test your gauge
THE SYBYLLA CARDIGAN
If done correctly, your 10x10cm knitted swatch should measure 7 stitches wide, and 11 rows high when knitted in garter stitch (knit stitch) on your 15mm needles.

SIZING AND MEASUREMENTS
You can make your cardigan in five sizes. Your pattern is read like this; 1 (2, 3, 4, 5). Depending on the size you ordered you'll follow the corresponding number.
It can help to highlight the numbers that correlate to your size in your pattern before you begin. The circles are also there you help you keep track of your knitting. The dashed circles are for the larger sizes.
Measurements are taken when the piece is laying flat. Width is from one side of the body to the other. Length is from the shoulder to the waist band.
| Pattern Size | AU Size | Yarn Balls | Measurements |
|---|---|---|---|
| 1 | 6-8 | 6 | 58cm wide x 48cm long |
| 2 | 10-12 | 7 | 63cm wide x52cm long |
| 3 | 14-16 | 7 | 67cm wide x 56cm long |
| 4 | 18-20 | 8 | 71cm wide x 60cm long |
| 5 | 22-24 | 9 | 74cm wide x 60cm long |

Repeat after me:
“I solemnly swear to knit bravely, unpick calmly, and pretend I meant to do that.
I accept that chaos is part of the craft, and possibly part of my personality.
I will finish what I start… eventually.”


Your cardigan is made in pieces. We knit the back, front pieces and arms separately. Then you’ll use your darning needle to sew them all together. We pick up stitches to knit the button band and then we finish by adding the satin ribbon bows.
Heads up!
You'll use the PDF pattern for the specifics, then use this guide as the extra level of detail (particularly helpful for new knitters!)
THE BACK
We start with the back piece which we knit flat from the bottom rib up to the shoulders. This is the biggest piece of your cardigan and once done it will look like a big rectangle.
Using your 12mm needles, cast on the correct number of stitches.
💭 If you're using circular needles your stitches will run down onto the plastic tube connecting your needles. That's totally fine!
💡 Your piece of knitting will grow as you knit so don't be concerned if after you've cast on the piece doesn't look wide enough.
First up, we'll knit some rows of 1x1 rib stitch. To create a rib pattern, we knit 1 stitch, then purl the next, then knit the next, then purl the next and repeat.
🧶 Make sure you’re moving your yarn tail from the back to the front of your work between each stitch (bring the yarn in through the middle of the needles) to ensure the rib is executed correctly.
💭 One of the things we found the hardest when we were learning to knit was keeping track of our rows. Before we were able to easily identify a row of stitches we used a pen and paper to keep track. That's why we've included handy circles in our patterns - you can tick them off as you go. The dashed circles are for the larger sizes.
Change to your 15mm needles. We're going to do a row of purl stitch, you can think of this as a foundation row before we move into the main stitch pattern for the rest of the piece.
💭 To change needles, simply hold the new needle in your right hand and knit your stitches onto the new needle. When all your stitches are transferred from your left needle onto your right you've officially swapped needles!
We're going to start knitting in a 6 row sequence now, alternating 3 rows of knit stitch with 3 rows of purl stitch.
Working in this sequence will give the cardigan a horizontal ribbed type of effect.
Cast off your stitches!
When you've got just one stitch left on your right needle, simply cut your yarn from the ball (leaving about 20cm) and thread it back through your last stitch to secure it.
🔥 Nice Work! The biggest piece of your cardigan is done!
FRONT PIECES
The good news! The front panels are knitted using the same techniques as the back so these will be a cinch now! 😎
SLEEVES
We knit our sleeves from the top down, meaning we're going to start casting onto our 15mm needles.
Cast on the required number of stitches using your 15mm needles.
Continue knitting in the 6 row sequence.
📉 Time to decrease some stitches! To get the shape in our sleeves, we're going to decrease some stitches in the row before we knit the cuff. We do this by knitting or purling two stitches together in places along this row.
You'll finish the sleeve with a 1x1 rib stitch knitted on your 12mm needles.
A note on the number of stitches you're working with. When you knit a rib stitch, you're stacking your knit and purl stitches row after row. So, if you have an odd number of stitches, you need to alternate the stitch type you start with - begin with a knit stitch in the first row, then a purl stitch for the second row.
Cast off your stitches.
💡 When you cast off don't do it too tightly or you'll have a very tight hole for your wrist to squeeze through!
Remember you need two sleeves!
SEWING TOGETHER
We're close! I can see the finish line 🎢 🙌
Now it’s time to get to work with the darning needle to sew your masterpiece together. We lay our pieces flat and sew them together one by one. Just as a diagram outlines.
There is also a video below that goes into the detail of seaming together.

Lay your front and back pieces on a flat surface, the right sides facing up.
Sew the cast-off edges of the front panels and the back panel together (A to A) and (B to B), leaving the gap in the middle for the open front of the cardigan. It's best if you work from the edge of the piece and sew inwards.
Time to attach the sleeves to the body (A to C) and (B to C). Make sure the middle of your sleeve is lined up with the shoulder seam. This will ensure the seam of your sleeve is right under your armpit, not half way around your arm! Once you've made sure it's all lined up, sew the sleeves to the shoulders.
For this step and the next, we use a technique called mattress stitch. This technique is used when joining pieces vertically and it gives us a nice neat (almost) invisible join. It's also a great technique to hide loose or sloppy edges! 😎
You work this seam through the “bars” of the stitch.
Fold your cardi in half long ways with the wrong sides facing each other, we're going to sew the sides together using the same mattress stitch technique.
💭 If you're anything like us you might find seaming a bit of a pain and hard to make super neat. It's a common beginner challenge! The main principle with seaming is no matter what seaming method you use, be sure you're entering into the same place on each stitch along the seam. This consistency makes it harder to see the seam.
Start either at the cuff of the sleeve or the rib of the waist and work your way to the armpit and then around to the other end.
The last thing we do for every piece is weave in the ends. That’s basically just tidying up the piece so all loose ends are trimmed down and tucked into the inside of your work. You use your darning needle and weave those ends into the seams so they are nicely hidden away.
BUTTON BAND
We're going to pick up stitches to knit the button band - the rib around the front of our cardigan.
Using your 12mm needles you'll pick up stitches from around the front of the cardigan.
We recommend starting at the bottom left corner of the cardigan (left when looking at the piece) and work your way up, around and down to the bottom right corner. Then you can start knitting your row 1 of rib stitch by knitting from the bottom right going up and around to the left.
It will be a squishy fit on your needles but there will be room!
Knit 7 rows of 1x1 rib stitch. Make sure you're knitting in rows, and not accidentally knitting in a loop!
Loosely cast off your stitches. If you cast off too tightly your band will bunch, so if in doubt, go looser than you think you should!
RIBBONS
Let's add the ribbon to our cardigan now.
Cut four lengths of ribbon - you'll have enough to cut 4 equal lengths of approximately 120cm each.
SLEEVES:
Fold the ribbon in half to find its centre. At the shoulder seam, loop the centre of the ribbon around one stitch, keeping both ends equal in length. Weave the ends in and out of the knitted stitches, crossing them every 6–7 rows. Make three crosses, then bring the ends together and tie them into a bow. Repeat on the other front panel.
FRONT:
Fold the ribbon in half to find the centre. Then loop the ribbon around a stitch at the shoulder seam of the front panel. Then thread the ribbon in a cross pattern in and out of the knitting every 6/7 rows. Create three crosses then bring the end together to tie a bow.


EXPLORE MORE BEGINNER KNIT KITS
Cardigang is more than kits and yarn. It’s a growing community of beginners, overthinkers, perfectionists-in-recovery, and people rediscovering creativity as adults.
If you’ve ever wanted a hobby that feels good, looks good, and doesn’t ask you to be anything other than where you are right now, you’re in the right place.
Discover the full range of Cardigang Knit and Crochet Kits.