


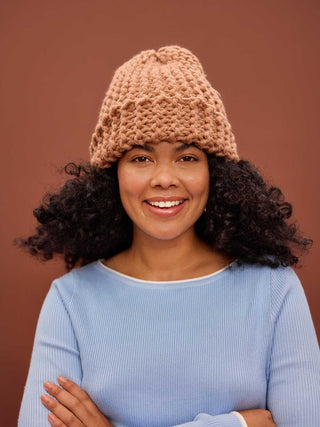
A step-by-step guide to knitting the learn everything Lenny Scarf
Ever gotten halfway through a project and thought “Hang on, am I even doing this right?” We have 🙋♀️
That’s why we’ve created these step-by-step guides to walk you through the knitting process.
Even if you've never knitted before, we'll take you from zero to knitting hero in no time 🦸♀️
When it comes to knitting, practice makes perfect
Before we get started on the pattern we suggest you spend a bit of time learning the basic techniques you’ll need to complete your masterpiece. The good news? You only need to learn one stitch type!
The Lenny Scarf is the perfect project for those wanting to learn a range of stitch patterns. All of the stitch patterns we teach you in this pattern are made using a combination of the knit stitch and the purl stitch. We put these two together in different combinations to create different patterns! You'll want to be confident with the knit and purl stitches before we start. You'll also want to get a hang of tying a slip knot and casting on your stitches which is the first step in any knitting project.
You can use the yarn that came in your kit to practice with. Once you've got these mastered you'll fly through your scarf.
Total beginner? 👩🏫
For a more comprehensive lesson on the basics of knitting visit our Learn How To Knit page.

JOIN OUR FACEBOOK COMMUNITY
Ready to take your knitting and crochet game to the next level?
Join The Cardigang Click on Facebook! It’s THE place to share your creations, ask for advice, and get inspired by fellow yarn lovers. Whether you’re a newbie or a seasoned pro, you’ll find a supportive and fun community eager to help and cheer you on.
🥣 Test your tension
Before you start your project, make sure your tension (how tightly or loosely your knitting is) is juuuust right. We do this by knitting a “tension swatch”. It's a bit like goldilocks, if the tension is too tight, your piece will be too small, and if it's too loose it may not hold its shape and might be too big.
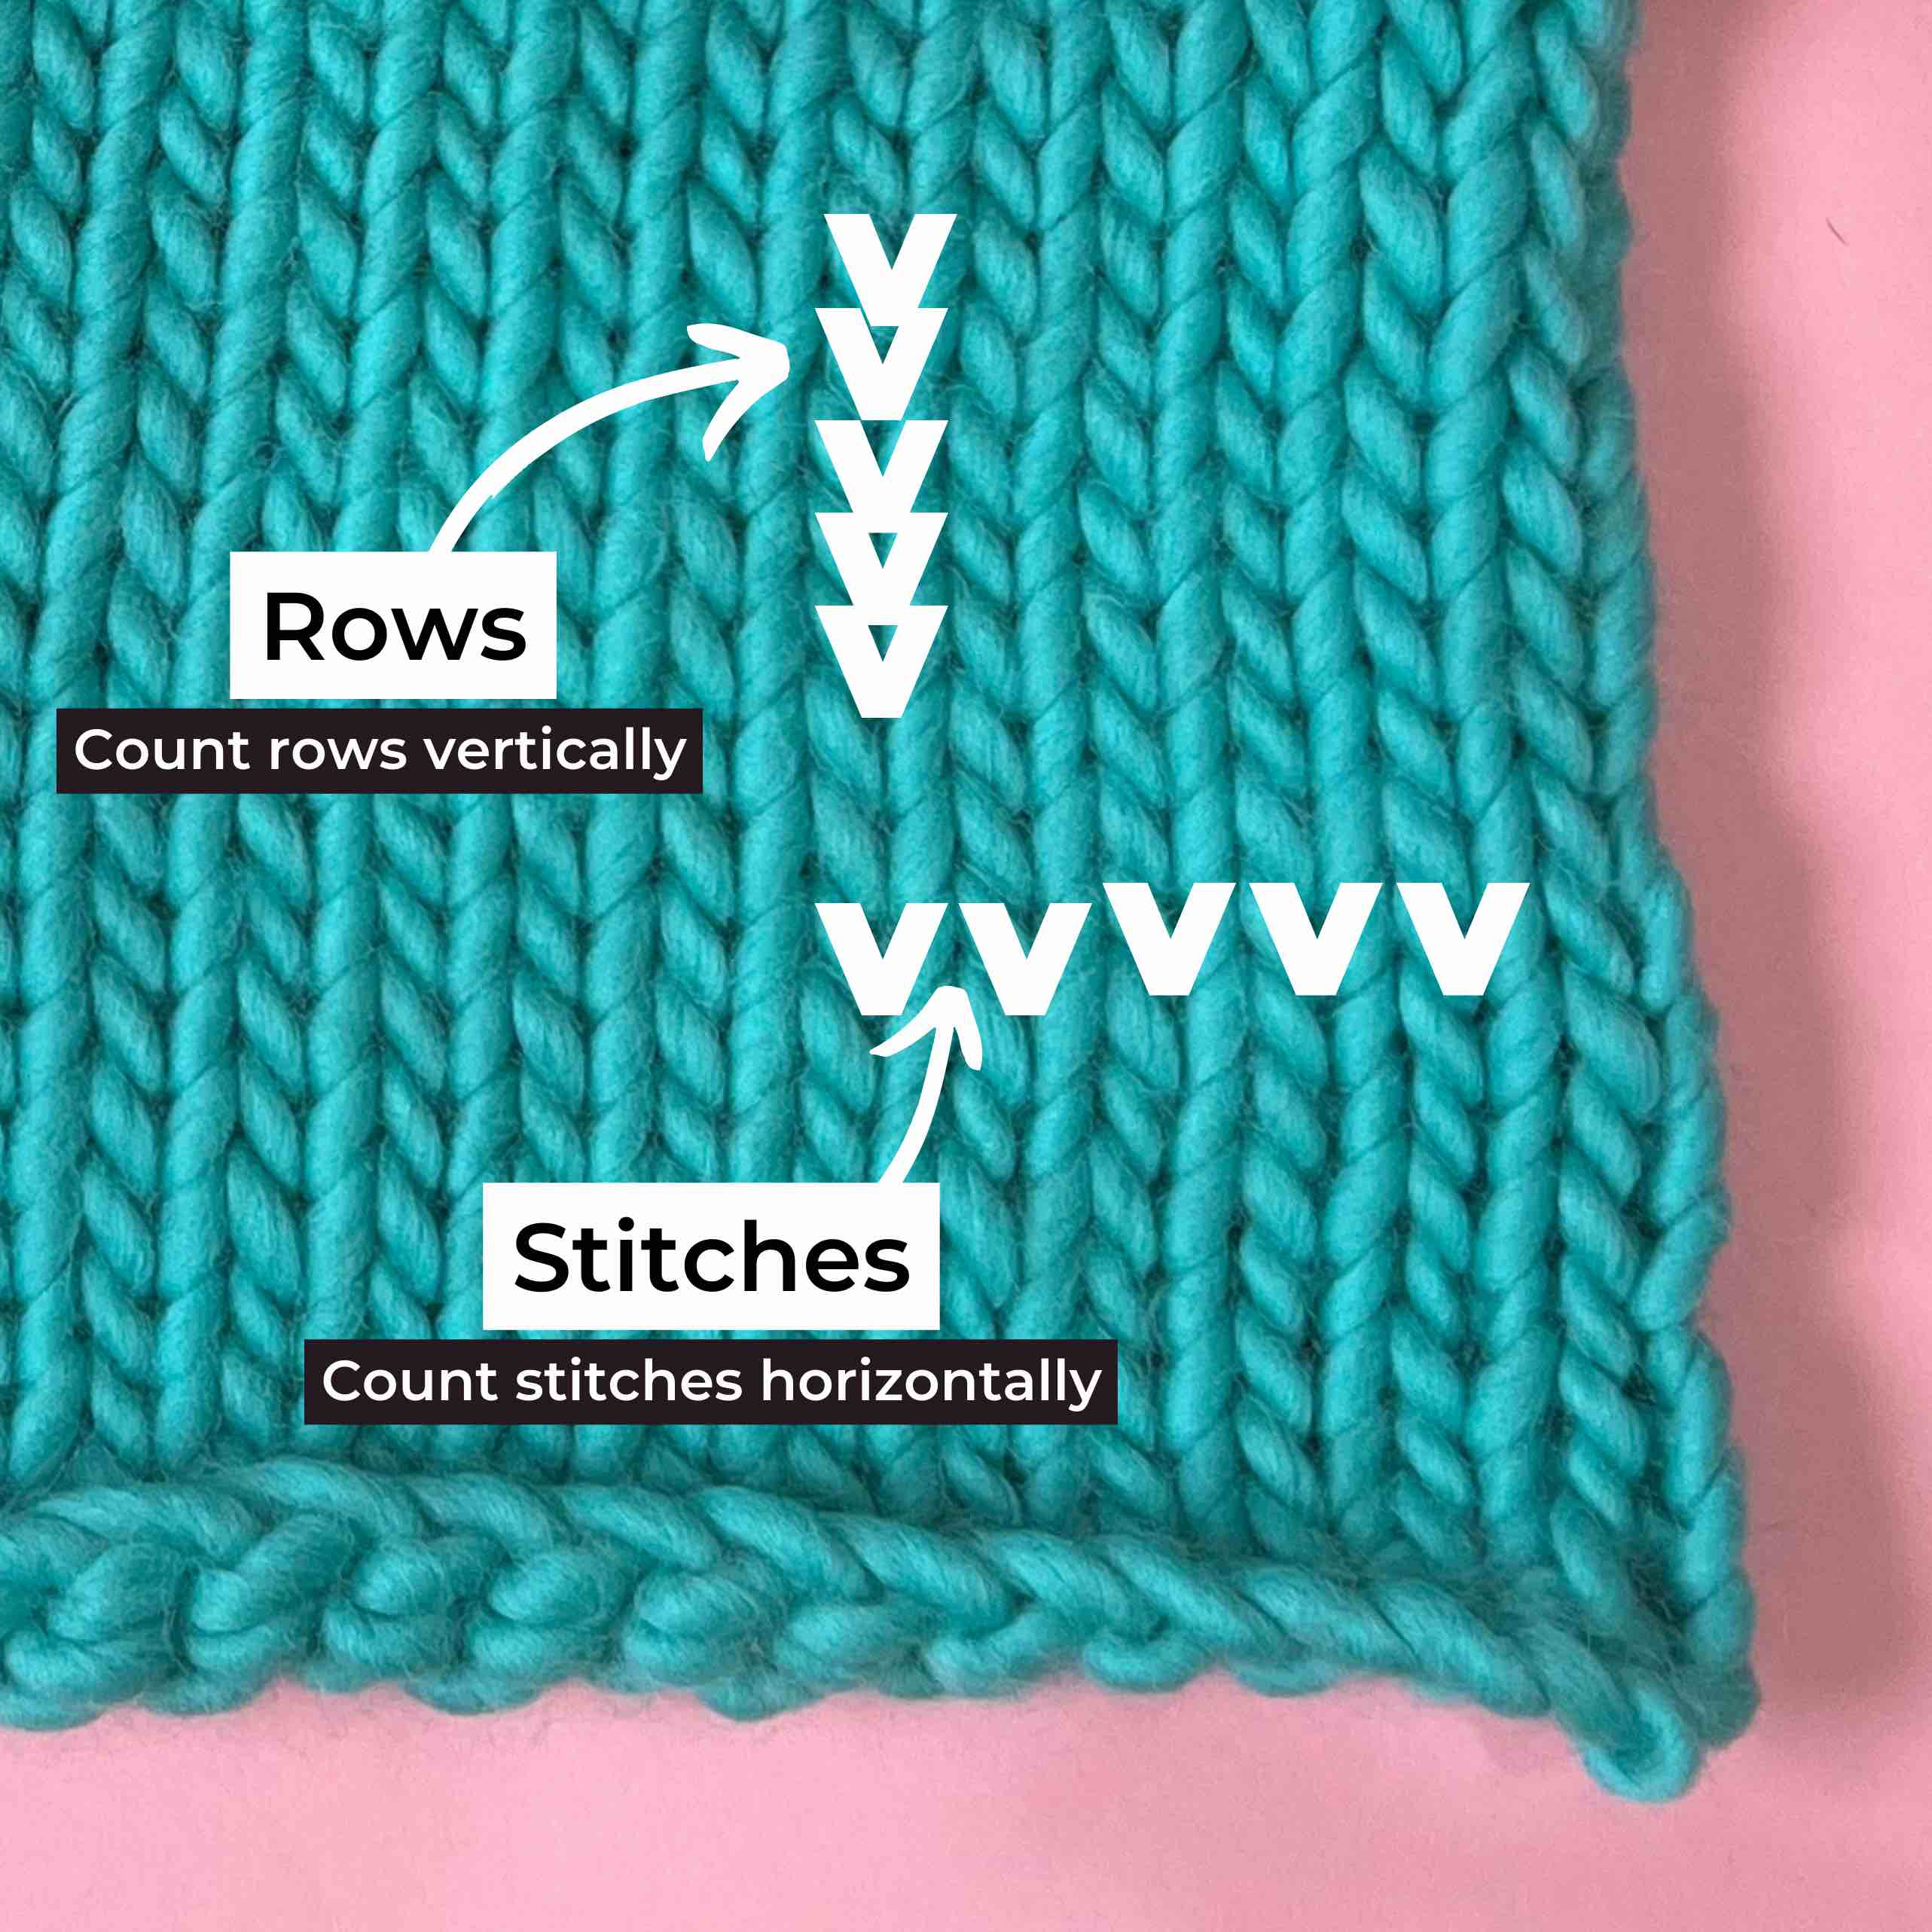
Gauge: If done correctly, your 10x10cm knitted swatch should be 7 stitches wide and 10 rows high when knitted in stockinette stitch on your 15mm needles.
To test this, jump on your needles - use the yarn and needles that came in your kit. Cast on around 12-14 stitches, then knit in stockinette stitch (knit all stitches in your first row, purl all stitches in the next - repeat) for around 12-14 rows. Then measure a 10x10cm square and count your stitches and rows within that space to make sure you're knitting at the correct tension.
If you've got more stitches or rows than the instructions say you should have, your knitting is a little too tight, and if you've got less your knitting is too loose. Adjust your tension by holding the yarn a little more tightly/loosely as you knit.
Onto the scarf!
⚡️What you'll need
Your kit comes with everything you'll need to make your masterpiece. In your kit you'll find;
- 15mm needles
- 3 x 200g balls of Cardigang Chunky Wool
- A darning needle
- Made by me tag
You also want to have a pair of scissors handy.
📏 Measurements
Your finished scarf will measure approximately 165cm long and 30cm wide.
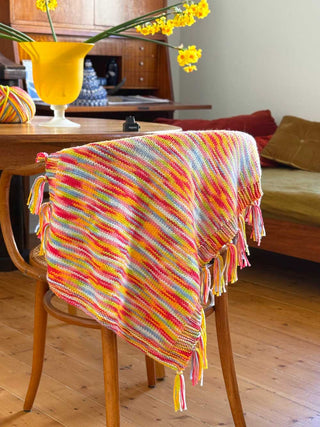
🧶 Let's knit our way to cosy-town!
Time to get click-clacking and whip up your warm-as-toast scarf.
Remember learning a new skill can be a little challenging at first, and you’re bound to find yourself making some mistakes along the way. But as with learning anything, your brain and your hands slowly start to get the hang of it, muscle memory is created, and soon the thing you found tricky/daunting/scary is like second nature! 💪
The idea with this project is that you let your creativity run wild and experiment with different stitches and colours.
First, let's go into a bit more detail on the types of stitches you can use to make your scarf.
💭🚀 If you'd prefer more direction, jump straight to the sample pattern at the bottom of the page.
Garter Stitch
Garter stitch is like a warm hug in yarn form, creating a fabric that's full of squishy goodness and texture.
Garter stitch is the simplest stitch pattern in knitting. All you have to do is knit every stitch, whether you're on the right side or the wrong side. That's right, my knitting friend, it's the same stitch all the way through. No need to worry about those fancy purl stitches or complex patterns. Just keep knitting and let the garter stitch work its magic.
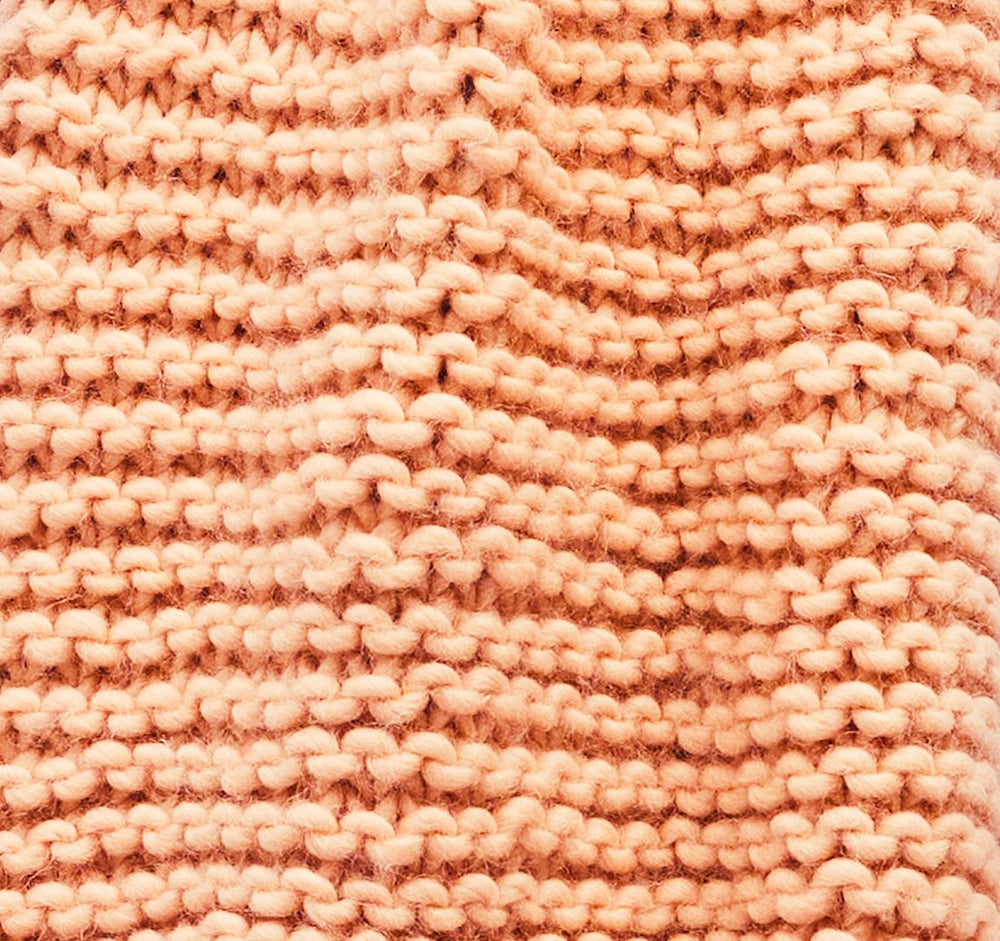
🌈 Change your colours as you like. To keep things neat we recommend changing at the end of a row.
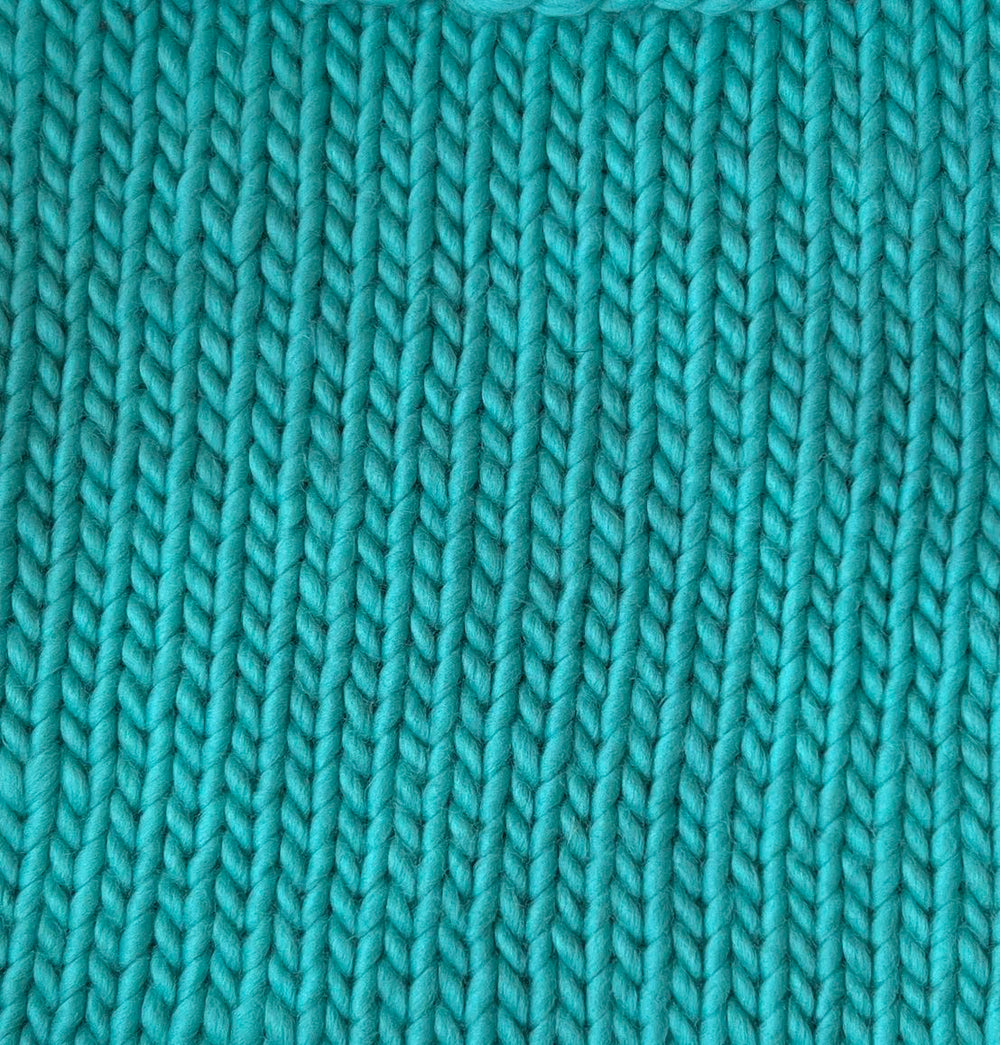
Stockinette Stitch
Stockinette stitch is one of the most commonly used stitch patterns. We use it a lot in clothing like jumpers and cardigans. It's made by knitting all stitches in one row, then purling all stitches in the next row. Then repeat this pattern.
Stockinette stitch gives your project a clean and polished look, with those lovely "V" shapes on one side and cute little purl bumps on the other. Just knit on the right side and purl on the wrong side, and you'll be rocking the stockinette stitch like a pro.
Rib Stitch
Rib stitch is a versatile and popular knitting pattern that adds texture and elasticity to your projects. Whether you're a beginner or an experienced knitter, mastering the rib stitch is a valuable skill that will enhance your knitting repertoire.
A rib stitch is a pattern that alternates between knit and purl stitches, creating a raised vertical design that resembles ribs. The most common rib stitch is the 1x1 rib, which consists of alternating one knit stitch and one purl stitch. Other variations include the 2x2 rib (two knit stitches and two purl stitches) and the 3x1 rib (three knit stitches and one purl stitch), among others.

Seed Stitch
Seed stitch is a knitting pattern that adds a touch of texture and whimsy to your projects. Seed stitch is like a sprinkling of magic, creating a fabric that's delightfully bumpy and visually captivating.
The seed stitch is created by alternating knit and purl stitches within the same row, and then switching the pattern on the next row. It's like a dance between knits and purls, resulting in a fabric with tiny seed-like bumps. This playful pattern adds dimension and interest to your knitting, making it a favorite choice for scarves, hats, and even baby garments.

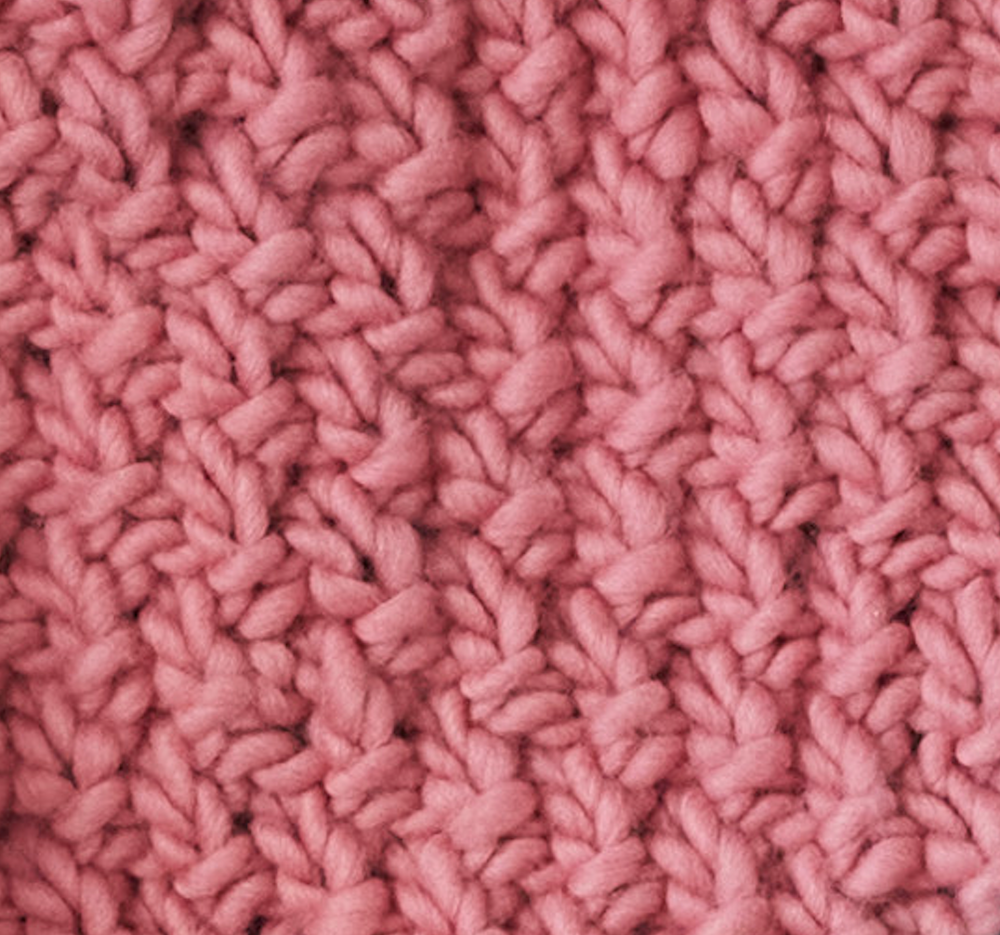
Irish Moss Stitch
Irish moss stitch, also known as double moss stitch, is like a cozy embrace from the Emerald Isle, creating a fabric that's richly textured. She looks complex but she still uses just the knit and purl stitch.
Irish moss stitch is reversible, with the same intricate texture on both sides. This makes it an excellent choice for projects where both sides are visible, like scarves or blankets. And the best part? The fabric lays flat and doesn't curl at the edges, ensuring your finished piece looks polished and professional.
Sample pattern
For those who'd like to follow a pattern row-by-row, the below will create a multi-coloured, textural delight and build on the stitch types as you go!
Cast on 24 stitches using your 15mm needles.
🧶 Let's start by knitting 5 rows of garter stitch. Row 1-5: Knit all stitches in each row.
Change to a new colour and we'll do another 3 rows in garter stitch. Row 6-8: Knit stitches.
Change to a new colour and we'll do 5 rows of seed stitch. Row 9: knit 1, purl 1 - repeat to the end of the row. Row 10: purl 1, knit 1 - repeat to end of row. Row 11-13: Repeat 2-row sequence.
💭 If you're a newbie, we recommend you count your stitches every few rows to make sure you're not adding or dropping any along the way. At the end of each row you should have 24 stitches.
Change to a new colour and we're going to do 6 rows of garter stitch. Row 14-19: Knit stitches.
Change to a new colour and we're going to do 4 rows of 1x1 rib stitch. Row 20-23: knit 1, purl 1 - repeat to end of row.
Change to a new colour and we're going to do another 3 rows of 1x1 rib stitch. Row 24-26: knit 1, purl 1 - repeat to end of row.
Without changing colour, let's transition into a new stitch type. We're going to do a few rows of stockinette stitch. Row 27: Knit stitches. Row 28: Purl stitches. Row 29-30: Repeat 2-row sequence.
Change to a new colour and we're going to do a 3x3 rib stitch. Row 31-36: knit 3, purl 3 - repeat to end of row.
Okay, let's throw in some Irish moss stitch now. In a new colour we're going to do 8 rows. Row 37 -38: knit 1, purl 1 - repeat to end of row. Row 39-40: purl 1, knit 1 - repeat to end of row. Repeat the last 4 rows one more time.
In the same colour let's do some stockinette stitch. Row 45-48: Stockinette stitch.
Change to a new colour and we'll do some rows of garter stitch but let's change colours a few times over 5 rows so we get some thinner colour bands. Row 49-53: Garter stitch.
Now, continuing with the colour you used in row 53, let's do some seed stitch. Row 54-58: Seed stitch.
🌈 Continue to change colours as you like - either as you change stitch type, or in the middle of a block.
Row 59-62: Stockinette stitch.
Let's do another big section of Irish moss stitch. Row 63-74: Irish moss stitch (created over 4 rows, repeated twice).
Row 75-82: Garter stitch
Row 83-86: 1x1 rib stitch
You're over halfway! Well done! ❤️🔥
Continue to free-style your pattern, or simply repeat the previous 86 rows once more. Make sure you're working through your colours evenly so you've got enough to finish.
Happy knitting!

Once you've completed your rows you'll cast off your 24 stitches.
D.O.N.E! You've finished your scarf, well done! Epic work 🤩 If this was your first-ever knitting project or one of many, we hope you had a blast click-clacking and making your masterpiece 💥❤️
In a bind and need a little more help?
Email us at stitchup@cardigang.com.au and we'll be able to help! Whether you're just starting out, or you've got a specific question or problem (dropped a stitch, no stress!), we're here to get you out of a bind.