


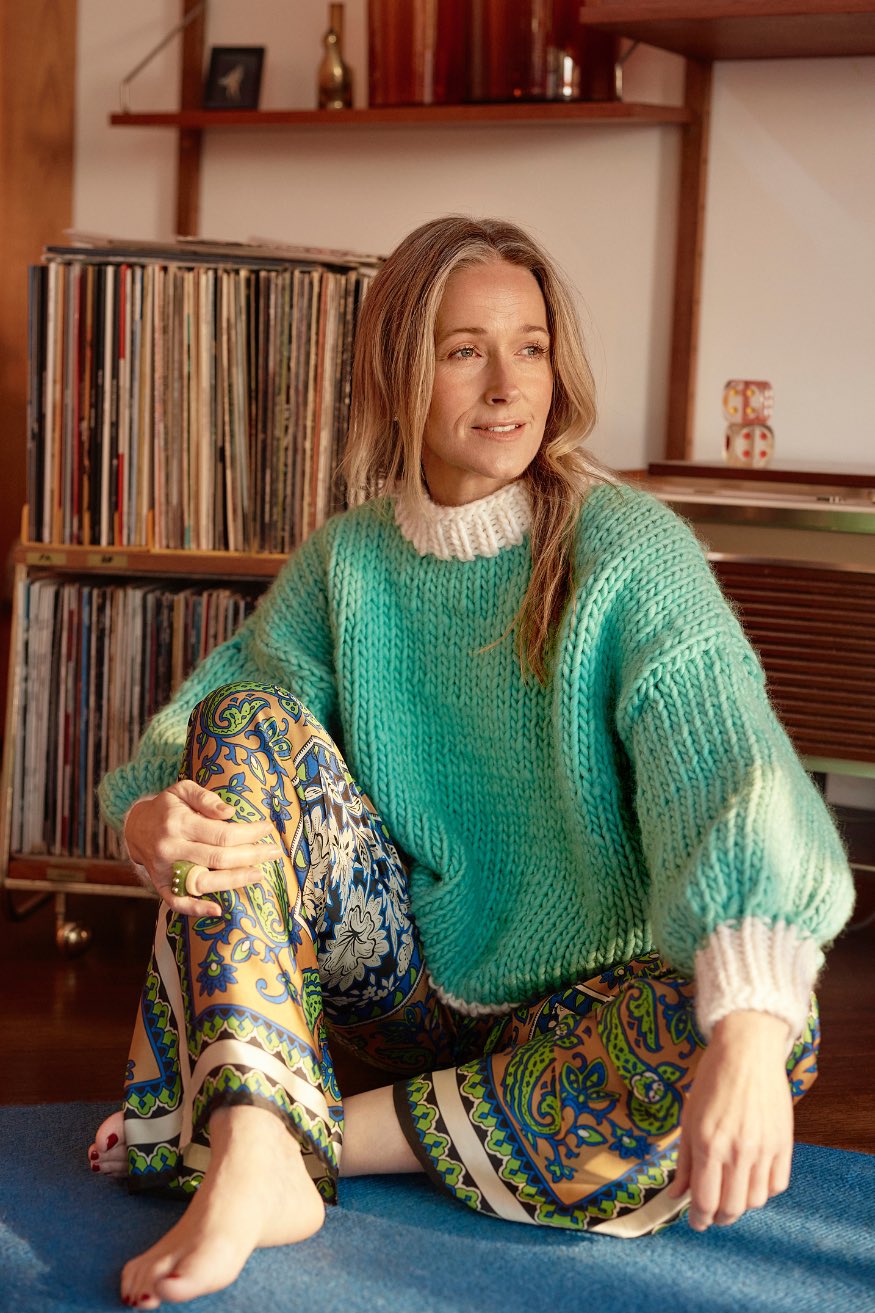
The perfect jumper will keep you warm as toast all winter, and if you've made it yourself it'll also wow the pants off your friends!
Jumpers keep you warm as toast and are iconically (and sometimes ironically) cool. Need proof? Here’s a lil ‘picture the sweater’ pop quiz to prove it: The Shining, Harry Potter and When Harry Met Sally. (See, we told you so!)
Whether you're a complete beginner or have some experience, this guide will help you knit the perfect jumper and the best part? You only need to know two different stitches!
Don't know how to knit? Neither did we! But knitting a jumper doesn't have to be intimidating – with these tips and tricks, and the right tools (🍷) you'll be on your way to crafting the perfect cosy knitted jumper in no time.
STEP 1
Choose Your Yarn
The type of yarn you pick for your jumper can have a big impact on how it looks and feels.
Soft, lightweight yarns like merino wool, cashmere, cotton or mohair are perfect for keeping warm during those cold winter months. For more resilient jumpers that won’t pill easily try choosing heavier yarns such as acrylics or polyesters. The chunkier the yarn, the more quickly your piece will knit up, and the more textural and bulky the finished piece will be.
At Cardigang our kits use 100% Aussie Merino wool for a super soft and chunky finish. For something equally cosy and a little more luxe, try our Chunky Mohair yarn. Or for a non-animal alternative, try our Chunky Cotton yarn. All our yarns are custom dyed and spun (AKA one-of-a-kind) and their thickness make them perfect for beginner knitters (or those wanting a quicker project with a more modern style).
STEP 2
Pick your pattern
The best approach for a beginner knitter is to work with a pattern to ensure you get the right fit and shape for your knitted jumper.
Working with a pattern is the best way to ensure your jumper is the right fit. A pattern will tell you how many stitches to cast on and how many rows to knit.
We recommend beginner knitters knit their jumper 'flat' so look for a pattern that takes this approach. This means that you'll knit the pieces of your jumper individually, and then sew them together.
💡 The beauty of working with a knitting kit is that we take the guesswork out of things by giving you wool, needles and instructions that all match perfectly and which will give you a well-proportioned jumper.
STEP 3
Practice your stitches
Practice makes perfect and it pays to get the basic stitches down-pat before you start your jumper.
Most beginner jumper patterns will use a combination of knit and purl stitches to create a stockinette stitch and a rib stitch.
Stockinette stitch
Stockinette stitch creates what's commonly known as 'knit fabric'. It's created by knitting all the stitches in one row, then turning your work and purling all the stitches in the next row. When created, the 'front' side of your work will look like it's made up of a series of V's, while the 'back' side will look like little waves or ridges.
Rib stitch
A rib stitch is a textured pattern usually used on the cuffs and necks of jumpers. It’s made by alternating knit and purl stitches in the same row, then knitting the same stitch sequence in the next row.

So let's learn the main stitches and techniques you'll need.
Cast on
Time to get those stitches onto your needle so you can start knitting. To cast on, we first need to create a slip knot. You’ll then use this slip knot as your first stitch and create the rest of your stitches from there. You should have enough loops for the desired width of the scarf.
Knit stitch
Once you've cast on all your stitches, it's time to start knitting! The knit stitch is a handy little stitch that makes up the backbone of most knitting patterns. Each knit stitch looks like a little ‘v’. To create a knit stitch, begin by inserting the right-hand needle into the back of the first stitch on your left needle, wrapping the yarn around the right needle, and then pulling it back through. You’ve now created one stitch! Keep repeating this process in every row until you’ve reached your desired length. If you make a mistake, don’t worry – just unknit and try again!
Purl stitch
Great, now let's try a purl stitch. A purl stitch is the second most common stitch. Purl stitches look like little bumps (or purls!) and they are the reverse of a knit stitch - where with a knit stitch your needle goes into the back of a stitch, the purl stitch puts your needle through the front of your stitch.
Cast off
Casting off is the way we finish a piece of knitting. We secure the stitches and cast them off our needles. To cast off, knit two stitches then slip the first stitch on your right needle back over the second stitch and off the needle. You’ll have one stitch left on your right needle. Knit another stitch so you’ve got two stitches on your right needle and then slip the first stitch off. Continue to the end of the row. When you’ve got the last stitch on your right needle, cut the yarn and thread this through the final stitch to secure.
STEP 4
Test your tension
Knit a tension swatch to ensure your knitting tension is spot on and therefore that your finished knit will be the right size.
Before you start your project, make sure your tension (how tightly or loosely your knitting is) is juuuust right 🥣 We do this by knitting a “tension swatch”. It's a bit like goldilocks, if the tension is too tight, your piece will be too small, and if it's too loose it may not hold its shape and might be too big.
To test your tension grab the yarn and needles that the pattern recommends you use - if you're knitting a Cardigang Knit Kit then use the yarn and needles included in your kit.
Your pattern will tell you how many stitches and rows should make up a 10x10cm tension swatch. Cast on 4-6 more stitches than the gauge should measure then knit in the specified stitch (generally stockinette) until your piece measures just over 10cm. Then grab your measuring tape and count your stitches and rows. If you've got more stitches or rows than the instructions say you should have, your knitting is a little too tight, and if you've got less your knitting is too loose. Adjust your tension by holding the yarn a little more tightly/loosely as you knit.
STEP 5
Let's knit up a storm
Time to get click-clacking and whip up your cosy jumper.
Now that you know all the techniques it's time to get to work on the jumper. We recommend starting with the back piece first. It's the biggest piece and will give you confidence - plus, if you make any mistakes they'll be on the back!
Knit your back panel, then the front, then the sleeves. Knit, knit, knit!
STEP 6
Sew your pieces together
Time to grab your darning needle!
Once you've got all your pieces done you'll sew the jumper pieces together. We lay our pieces flat and sew them together one by one.
STEP 7
Knit your neckline
You're nearly done!
Depending on the style you're knitting, you'll likely need to finish your jumper with a ribbed neckline. To do this, you'll pick up stitches from around the raw neckline, and then you'll knit the rib in the round for the allocated number of rows.
STEP 7
Finishing Touches
Now all that's left to do is weave in any loose ends and block your jumper before wearing it out into the world with style!
When your jumper is finished and you’ve bound off all your stitches, it's time to weave in any loose ends and block the fabric so that it will hold its shape when worn.
To give your jumper a finished look, you’ll want to weave in any loose ends. To do this, take the tail of your yarn and thread it onto a yarn or darning needle. Then weave the needle through several stitches on the backside of your scarf until it’s securely tucked away. Repeat this process with any other loose ends you may have before snipping them off close to the fabric.
Blocking helps even out any irregularities in a knitted fabric so that everything looks neat and tidy once it’s been worn or washed.
You're done! Time to wear your knitted jumper with pride! 💪🧶
Remember learning a new skill can be a little challenging at first, and you’re bound to find yourself making some mistakes along the way. But as with learning anything, your brain and your hands slowly start to get the hang of it, muscle memory is created, and soon the thing you found tricky/daunting/scary is like second nature!
Ready to dip a toe in with a fully-kitted up Jumper Knit Kit?
Our kits come packed with all the goodies you need to knit a masterpiece – incredibly easy to follow instructions, the perfect amount of wool, sticks to click, and a totes amazing tote.
